Tree Planting Guidelines
A tree is an investment into the future, so it’s important to give every tree you plant the best chance of thriving. Choosing the right tree for your location and needs is the first step. But once you get the tree home, how do you ensure that it will be around to shade your children […]

A tree is an investment into the future, so it’s important to give every tree you plant the best chance of thriving. Choosing the right tree for your location and needs is the first step. But once you get the tree home, how do you ensure that it will be around to shade your children or grandchildren, or provide food for your family or wildlife, or be decked out in flowers that bring exclamations from generations to come?
Guidelines for All Trees
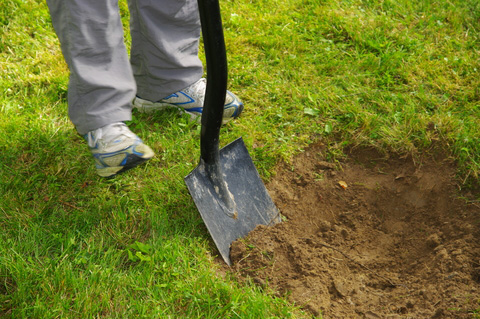
1. You want the root flare — where the roots begin to spread away from the trunk — to be slightly above the soil line. Dig a hole only as deep as the root ball or as deep as the tree was previously growing and three times as wide. This will loosen enough soil to help the roots spread easily.
2. Once the tree is set in the hole, fill the hole halfway with soil that you removed from the hole, then fill the hole with water. Once the water has percolated through the soil, fill the hole the rest of the way with soil. Do not stamp the soil with your foot or you’ll squeeze out the air.
3. Create a watering basin at least 4 to 6 inches high just outside the rootball. Fill it with water, let it drain, and repeat. Recheck the planting depth. If the tree has settled below the surrounding soil level, it should be raised. For bare-root trees, gently pull up on the lower trunk. For container or balled and burlapped trees, carefully push a shovel under the root-ball and pry it upward while lifting up on the lower trunk. In each case, moist soil will settle under the roots and raise the planting depth.
4. A tree with a strong trunk stands on its own without staking. However, if the tree was staked in the nursery or if you are planting in a windy location, proper staking will support the tree during its first years in the ground. Drive in two stakes, one on each side of the tree and just outside the rootball. Position the stakes so that a line drawn between them is perpendicular to the strongest prevailing wind when the tree is in leaf. Tie the tree to the stakes with wide flexible ties to reduce damage to the trunk, and don’t tie the tree too tightly. A tree that can sway somewhat in the wind will develop a stronger trunk.
5. Apply 3 to 4 inches of organic mulch around the base of the tree to conserve moisture and reduce weeds. Keep it at least 6 inches away from the trunk.
Planting a Bare-Root Tree
Form a mound of soil in the center of the hole and set the bare-root tree atop the mound and spread the roots down and away without unduly bending them. If the tree is grafted, position the inside of the curve of the graft union away from the afternoon sun.
Planting a Balled and Burlapped Tree
Handle the root ball carefully so it doesn’t break or crack. Lift the soil ball and position it in the center of the hole. Gently tamp to remove air pockets as you fill with soil. Once stabilized with backfill, remove burlap and use wire cutters to cut as wire away as possible. Continue backfilling and watering to settle the soil. Don’t cover the top of the root ball with backfill.
Planting a Container Tree
Lift the plant out of container prior to setting the root ball in the hole. Eliminate circling roots by laying the root ball on its side and cutting through the roots with shears. Don’t cover the top of the root ball with backfill.
A former floral designer and interior plantscaper, Kathie Bond-Borie has spent 20 years as a garden writer/editor, including her current role as Horticultural Editor for the National Gardening Association. She loves designing with plants, and spends more time playing in the garden — planting and trying new combinations — than sitting and appreciating it.
Courtesy of Family Features. Source: garden.org


