


Simple Paper Feathers
As someone who frequently finds feathers out of doors, it’s ironic that I still get excited to make paper ones to add to my feather collection. I initially tried a few different tutorials for making paper feathers and they turned out well enough. Some were made with silver wire, floral wire or rolled paper for the feather stem. I tried feathers […]

Simple paper feathers
Photo Credit : Bonnie Thomas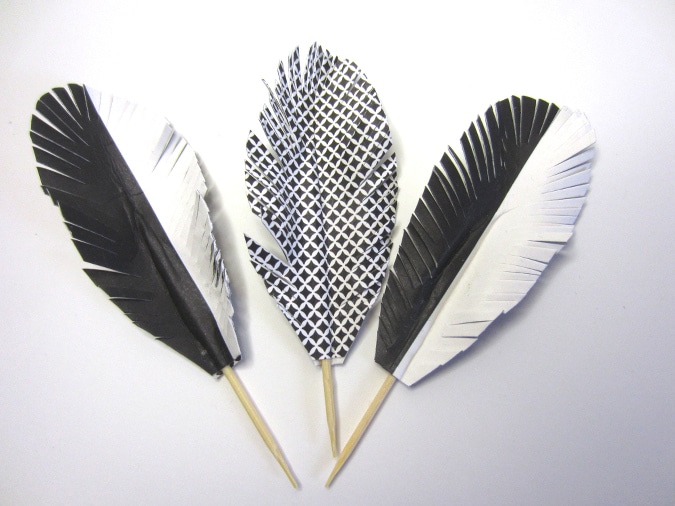
Photo Credit : Bonnie Thomas
Photo Credit : Bonnie Thomas
Materials to Make Simple Paper Feathers
- Paper of your choice – you can use scrapbook or other decorative paper, newspaper, sheet music, book pages, origami paper, or scrap paper.
- All purpose glue or Mod Podge
- Scissors
- Wooden toothpicks
- Binder hole reinforcements (optional) – these are found in office supply stores
- Black Sharpie or other permanent ink pen (optional)
Directions to Make Simple Paper Feathers
- Cut your paper into small rectangles – about 2″ x 3″.
- You will need 2 paper rectangles per feather.
- Apply a thin layer of glue or Mod Podge onto a paper rectangle.
- Place a wooden toothpick into the center of that rectangle. Leave 1/4 of the toothpick sticking out of the feather to create the feather stem.
- Add a little more glue to the exposed area of the toothpick.
- Place another paper rectangle over the toothpick.
- Press the papers together. Make sure to press all around and over the covered toothpick as well.
- Repeat as needed, for as many feathers you are creating.
- Allow the glue to dry thoroughly.
- An alternative to the above steps: Cut longer strips of paper instead of individual rectangles. Place the toothpicks equidistant from each other along the paper strip. Make sure to allow room for cutting into rectangles. When the glue has dried thoroughly, cut the strip of paper into rectangles– one rectangle for each toothpick.

Steps in making Simple Paper Feathers
Photo Credit : Bonnie Thomas - Trim around the edges of each rectangle to create an oval and/or feather shapes.
- If you like the way the feather looks, as is, then you can skip the next few steps. Here is an example of paper feathers that I left as is:
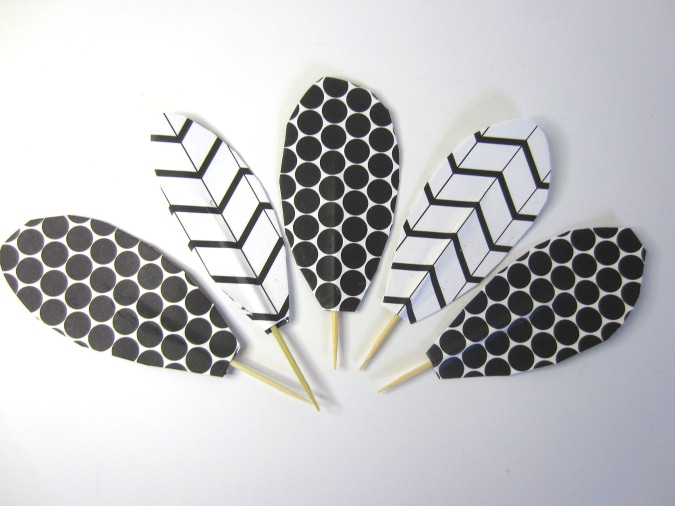
Simple paper feathers
Photo Credit : Bonnie Thomas - Next, make small cuts up and down the feathers. Don’t cut all the way to the toothpick center or the feather might fall apart.
- If you like, you can add some detail to your feathers by making black polka dots or stripes at the feather tips. If you do so, you might want to leave these intact (not trimmed).
- You can also add binder hole reinforcements to your feathers to make a pattern. I made some feathers using three of the binder hole reinforcements in a vertical line, then colored in the circles.
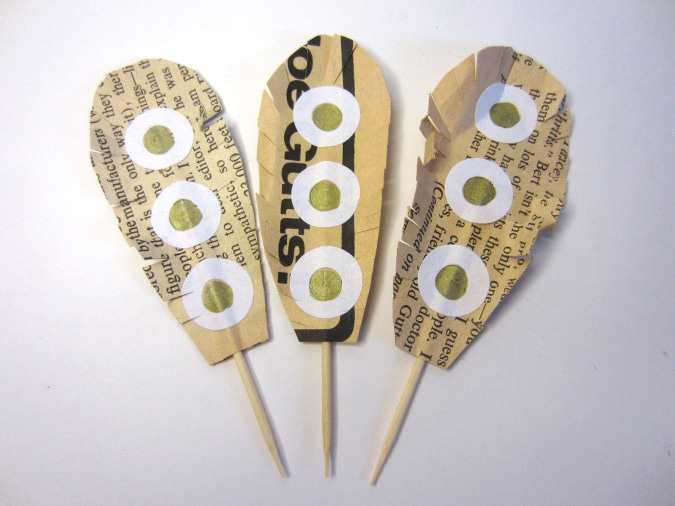
Simple paper feathers using binder hole reinforcements
Photo Credit : Bonnie Thomas

Bonnie Thomas
Bonnie Thomas shares her ideas and instructions for simple Yankee crafts. Bonnie Thomas works full time as a child and family therapist in Southern Maine and is also an established artist and author. She has published two books via Jessica Kingsley Publishing, titled Creative Coping Skills for Children: Emotional Support Through Arts and Crafts Activities and Creative Expression Activities for Teens: Exploring Identity Through Art, Craft and Journaling. Don't miss her latest book, How to Get Kids Offline, Outdoors, and Connecting With Nature.
More by Bonnie Thomas