


Handmade Ornaments | Make Peace and Joy Branches
Whether you celebrate winter holidays or not, the underlying theme of the season is love, peace and joy. You can easily create handmade ornaments based on these words using a small branch and basic craft supplies. The branches can be hung directly on a wall or set on a shelf (which allows the words to […]
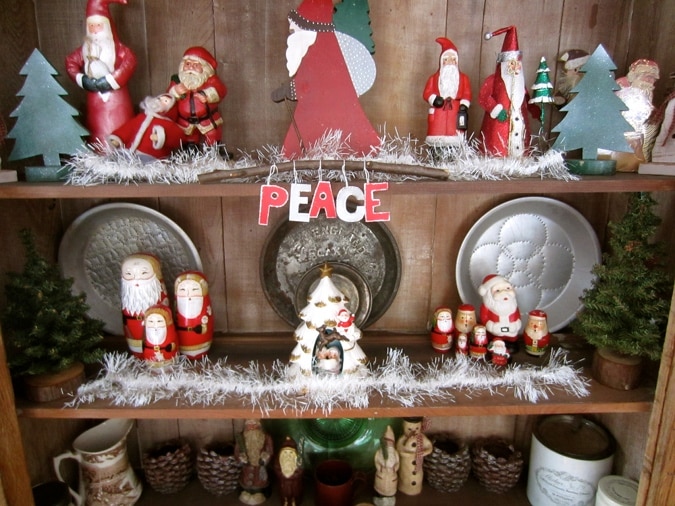
A PEACE branch placed in the hutch
Photo Credit : Bonnie Thomas
Photo Credit : Bonnie Thomas
Photo Credit : Bonnie Thomas
Materials for Handmade Peace Ornaments
- A small tree branch
- Silver and red paper
- Glue
- Fine silver glitter
- A paper hole punch
- Twine or string
- Wax paper
Directions to Make Handmade Peace Ornaments
- Trim the branch down to the size you need. You can make these branches as small or large as you want.
- Allow the branch to dry.
- Draw or trace the letters P,E,A,C,E onto your red and silver paper.
- Cut the letter shapes out.
- Use the paper hole punch to remove the hole in the letters P and A.
- Trim the letters with glue.
- Sprinkle glitter over the letters where the glue is and then tap any excess glitter from the letters into the trash.
- Allow the letters to dry on wax paper.

Letters drying on wax paper
Photo Credit : Bonnie Thomas - Tie 5 small pieces of twine or string on to the branch (one piece for each letter).
- Next, lie the branch flat on the wax paper.
- Glue your letters onto the strings one at a time. The letters are placed on top of the string. Make sure you put your letters in the correct spelling order.
- Allow the letters to dry throughly.
- Hang your branch.
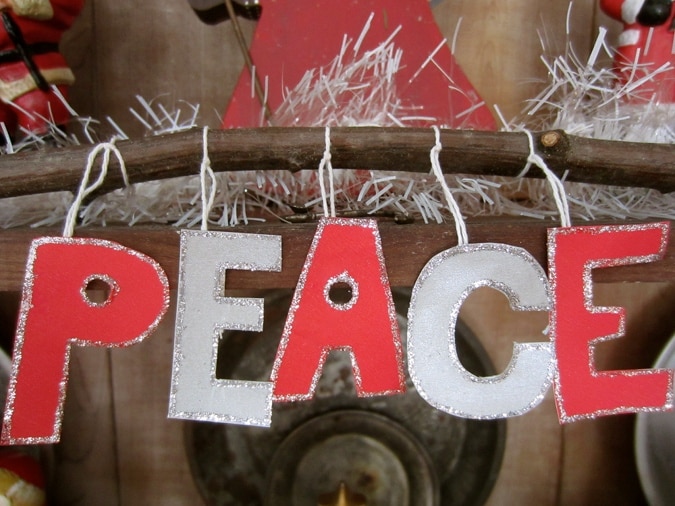
A PEACE branch completed
Photo Credit : Bonnie Thomas
Materials for Handmade Joy Ornaments
- A small tree branch
- 3 wooden flat circles (sold at craft supply stores)
- 3 eye hook screws
- 3 different colored paints
- Small paintbrush and water
- Ribbon or twine
- Pencil
- A tack (optional)
Directions for Handmade Joy Ornaments
- Trim the branch down to the size you need. You can make these branches as small or large as you want.
- Allow the branch to dry.
- Draw the letters J, O, Y in pencil onto the wooden circles.
- Paint each letter a different color.
- When the letters are dry, attach an eye hook screw into each circle top. Sometimes it helps to poke a hole in the wood with a tack first.
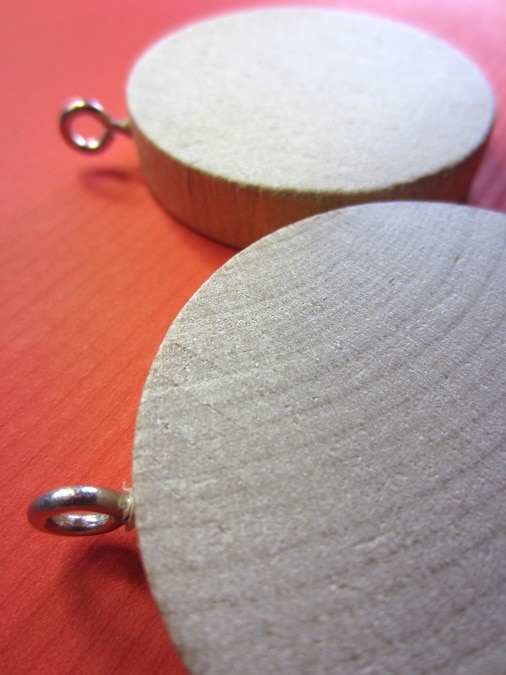
Eye hook screws attached to wooden circles
Photo Credit : Bonnie Thomas - Tie a ribbon through the eye hook and then slide the letters onto the tree branch.
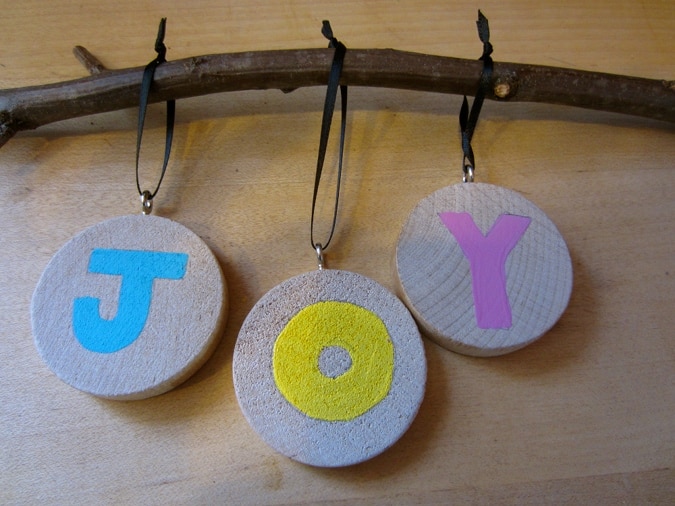
Completed JOY Branch
Photo Credit : Bonnie Thomas
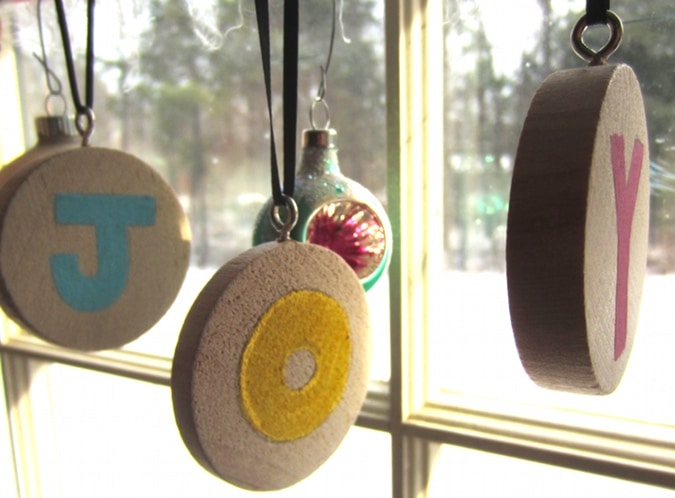
Photo Credit : Bonnie Thomas

Bonnie Thomas
Bonnie Thomas shares her ideas and instructions for simple Yankee crafts. Bonnie Thomas works full time as a child and family therapist in Southern Maine and is also an established artist and author. She has published two books via Jessica Kingsley Publishing, titled Creative Coping Skills for Children: Emotional Support Through Arts and Crafts Activities and Creative Expression Activities for Teens: Exploring Identity Through Art, Craft and Journaling. Don't miss her latest book, How to Get Kids Offline, Outdoors, and Connecting With Nature.
More by Bonnie Thomas