


Crafts | Make Decorative Vases from Tin Cans
It’s flower season in New England — daisies, lilies, petunias, zinnias, and other brightly colored flowers are blooming in every corner of the region. If you don’t have a flower garden of your own, farmer’s markets are bustling with flower vendors. Road side stands also offer charming bouquets for reasonable prices. As much as I love […]
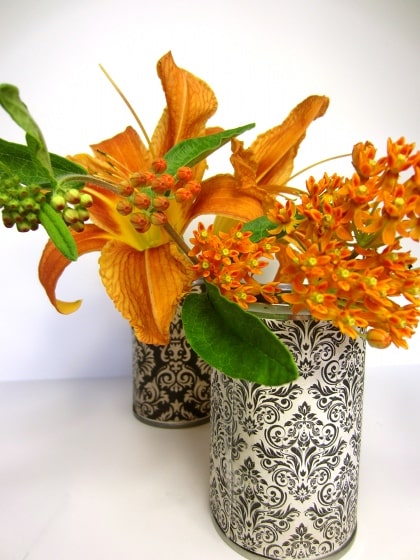
Decorative tin cans
Photo Credit : Bonnie Thomas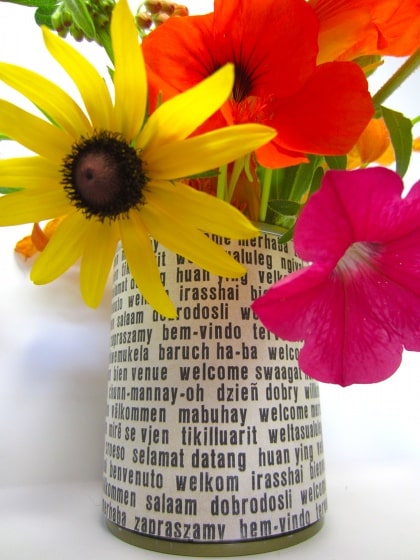
Photo Credit : Bonnie Thomas
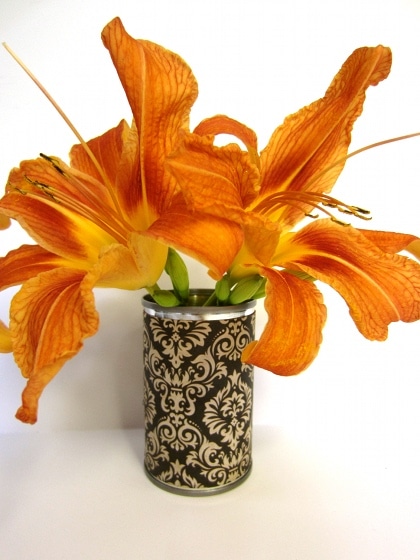
Photo Credit : Bonnie Thomas
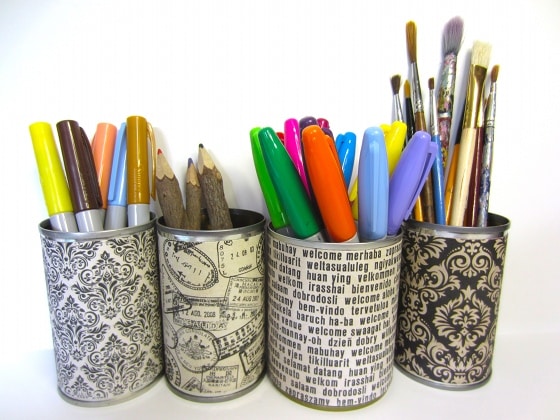
Photo Credit : Bonnie Thomas
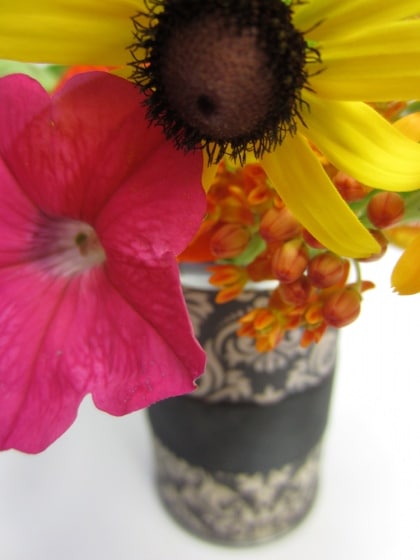
Photo Credit : Bonnie Thomas
Materials needed:
- Tin cans
- Decorative paper
- Clear tape
- Ribbon (optional)
Directions:
- Thoroughly clean and dry the tin cans you are using.
- Measure the height of the can from the lip at the top to the lip at the bottom.
- Cut a strip of decorative paper to fit the height of the can.
- Wrap the strip of paper around the can. If it is too long. you can trim it as needed.
- Make sure the paper is wrapped tightly and then tape it into place. Tape the “seam” where the papers overlap.
- Add fresh flowers.
- Add water to the can. Be careful not to drip water on the outside of the can or the paper will get wet.
Photo Credit : Bonnie Thomas

Bonnie Thomas
Bonnie Thomas shares her ideas and instructions for simple Yankee crafts. Bonnie Thomas works full time as a child and family therapist in Southern Maine and is also an established artist and author. She has published two books via Jessica Kingsley Publishing, titled Creative Coping Skills for Children: Emotional Support Through Arts and Crafts Activities and Creative Expression Activities for Teens: Exploring Identity Through Art, Craft and Journaling. Don't miss her latest book, How to Get Kids Offline, Outdoors, and Connecting With Nature.
More by Bonnie Thomas