


Button Bobby Pins
Button Bobby Pins are a simple DIY project that can be worn or gifted for the holidays (and they are perfect for filling those stockings!). I have a collection of vintage buttons that never seem to dwindle and I am always looking for ways to use them in craft projects. If you are using buttons […]
Button Bobby Pins
Photo Credit : Bonnie ThomasPhoto Credit : Bonnie Thomas
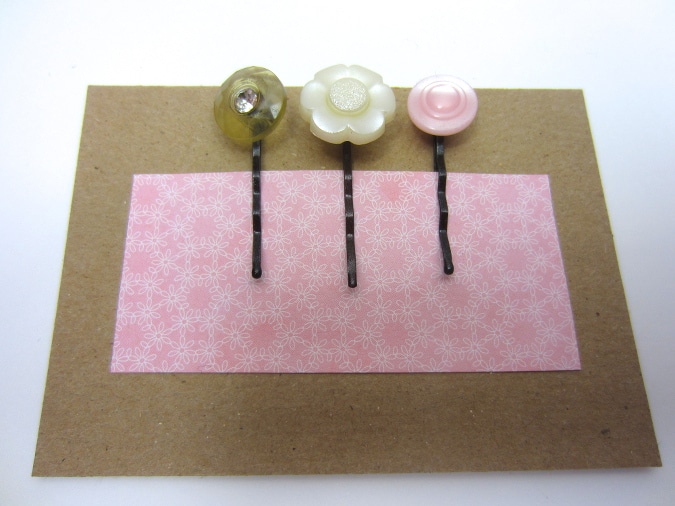
Photo Credit : Bonnie Thomas
Materials to Make Button Bobby Pins
- Small bobby pins
- Buttons that have a loop underneath them (see photo)
- Super glue
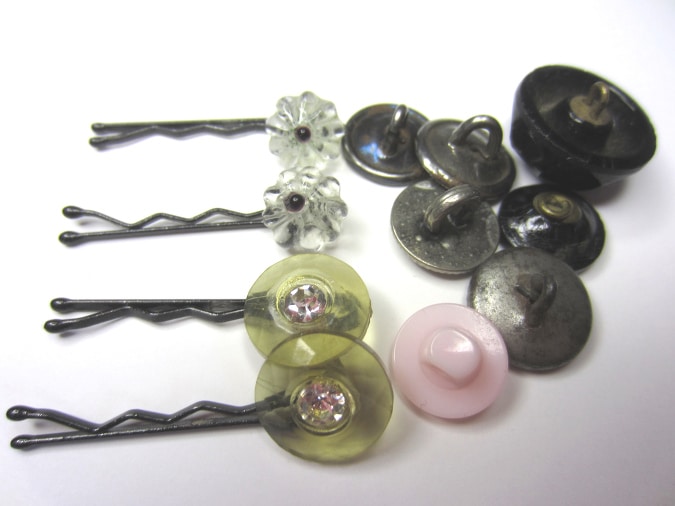
Photo Credit : Bonnie Thomas
Directions to Make Button Bobby Pins
- Slide a button through the top bar of the bobby pin. Make sure the button is facing upward.
- Assess the button for fit. Slide it around until you get a sense for where the button sits best, and where it has the most contact points for gluing. Note: You might find that some of your buttons have a very large hole. If this is the case you can try to insert the entire end of the bobby pin directly into the button hole. Two of my bobby pins worked better this way.
- Apply a small amount of super glue to the button and bobby pin, where you want them to join.
- Set aside the glue and then make any last minute adjustments to your bobby pin, before the glue dries.
- Hold the button in place until the glue sets.
- Make sure you are getting fresh air, as super glue is toxic.
- Repeat the steps above until you have made the number of bobby pins you want.
- Allow the bobby pins to sit and cure for several hours before wearing or gift-wrapping them.
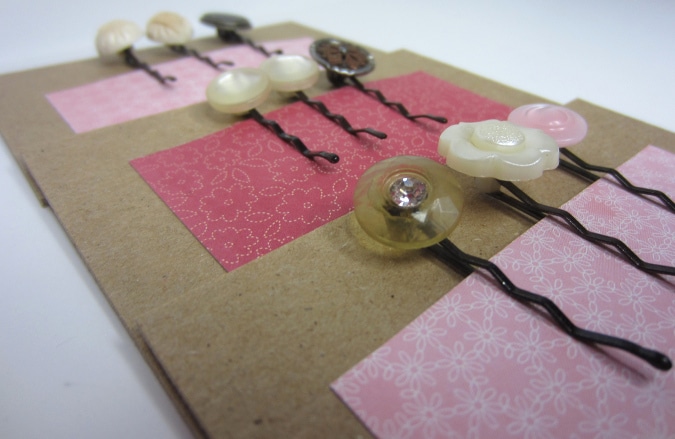
- If you are making these for gifts or for a craft show, you will want to make a card to put the pins on. I used a piece of cardboard with a small rectangle of patterned paper glued onto it. The paper rectangle is glued on all but the top edge so that the bobby pins can be placed at the top (see photo above).

Bonnie Thomas
Bonnie Thomas shares her ideas and instructions for simple Yankee crafts. Bonnie Thomas works full time as a child and family therapist in Southern Maine and is also an established artist and author. She has published two books via Jessica Kingsley Publishing, titled Creative Coping Skills for Children: Emotional Support Through Arts and Crafts Activities and Creative Expression Activities for Teens: Exploring Identity Through Art, Craft and Journaling. Don't miss her latest book, How to Get Kids Offline, Outdoors, and Connecting With Nature.
More by Bonnie Thomas