Spring Crafts | Make May Day Baskets from Milk Cartons
As we come around to May Day 2013 I am reminded that I started writing for Yankee Magazine’s Crafty Yankee blog last year at this time. I wrote my very first blog post about making May baskets. I am posting another blog this year about May baskets since there are many ways to make them […]


Photo Credit : Bonnie Thomas
Materials to Make May Day Baskets
- A milk or juice carton (1 gallon size)
- 1 sheet of decorative scrapbook paper of your choice
- Ribbon
- Glue
- Scissors
- Pictures of butterflies or flowers (scrapbook sheets, stickers, or clip art images)
- White piece of paper size sized 2.5” x 3.5”
- Stapler or clear tape
- Items to fill the basket (filler, treats, seeds, flowers, toys, etc)

Directions to Make May Day Baskets
- Wash and dry the carton thoroughly.
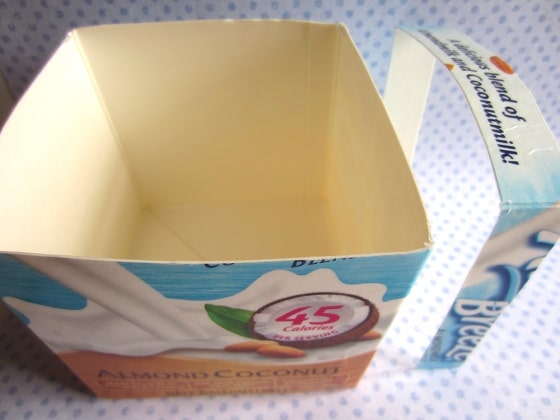
- Cut the top off of the carton. Push one end of your scissors into the milk carton and then use that entry point to start trimming around the carton. It is best to start near the top of the carton to allow for plenty of error.
- Determine how deep you want your basket to be and then trim the rim as evenly as possible to that depth. Mine is about 3 3/4”deep.
- Make the handle. Save a strip of material from the carton about 10-12” long and 1” wide. If you do not have enough carton scraps leftover for a handle, you can cut one from a piece of recycled cardboard (such as from a cereal or cracker box). Trim the handle to be even on both sides.
- Cut your scrapbook paper to be wide enough to wrap around your carton. I needed to use two strips of paper which overlapped.
- Glue the paper into place. Trim any paper that is hanging over the edge or bottom of your basket.
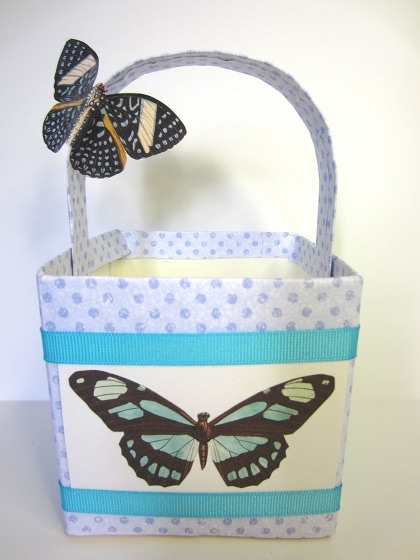
- Next, wrap the handle in paper and glue the paper into place.
- Staple or tape the handle ends into the basket. Make sure the handle ends are on the inside of the basket.
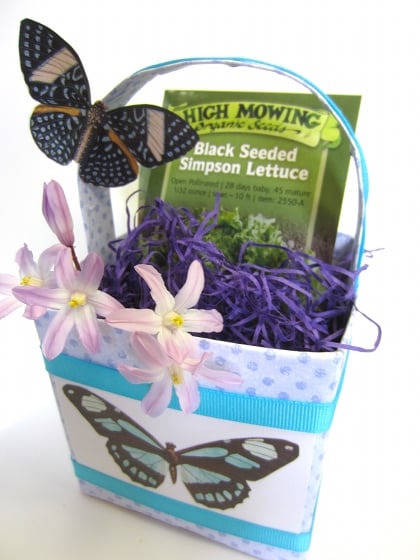
- Glue an image of a flower or butterfly onto the white paper.
- Next glue this paper and image onto the front of the basket.
- Cut ribbon for wrapping around the top and bottom of the basket. You will need 2 pieces of ribbon, about 16” each. Wrap it around first to make sure it fits, and then trim.
- Glue the ribbon into place.
- I also glued ribbon onto the handle of the basket. I did this after the handle was attached—the ribbon ends tucked easily into the sides of the basket.
- I added an extra butterfly to the handle of my basket for decoration.
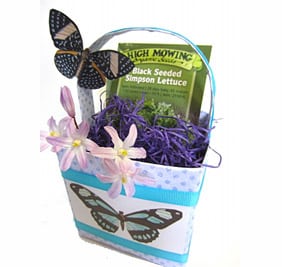
- Fill the basket with filler and treats for a friend or loved one. I filled mine with seeds and flowers.

Photo Credit : Bonnie Thomas
Bonnie Thomas
Bonnie Thomas shares her ideas and instructions for simple Yankee crafts. Bonnie Thomas works full time as a child and family therapist in Southern Maine and is also an established artist and author. She has published two books via Jessica Kingsley Publishing, titled Creative Coping Skills for Children: Emotional Support Through Arts and Crafts Activities and Creative Expression Activities for Teens: Exploring Identity Through Art, Craft and Journaling. Don't miss her latest book, How to Get Kids Offline, Outdoors, and Connecting With Nature.
More by Bonnie Thomas

