How To
How to Make Sunlight Prints | Craft Idea
How to make sunlights prints using paper, found objects, and the sun. Kids love this easy craft idea!
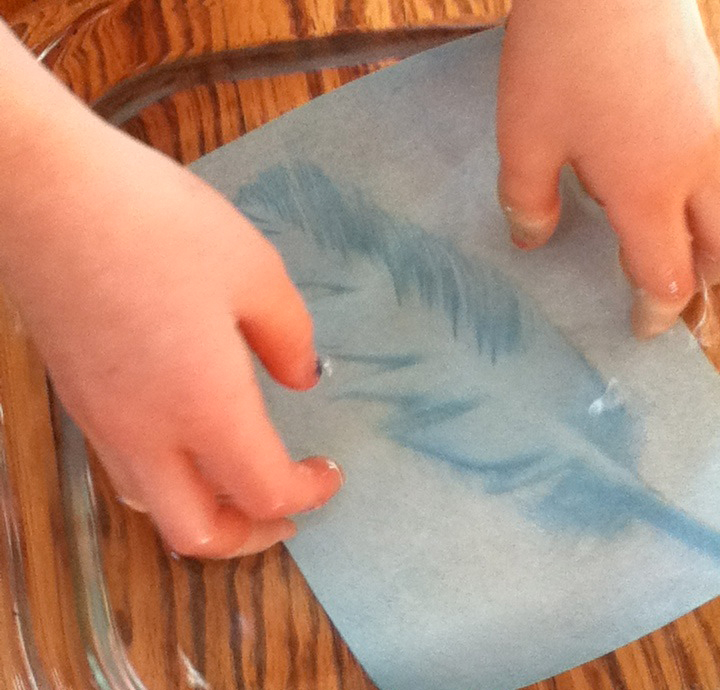
Photo Credit : Marcus, Heather
One of the favorite gifts I found for my daughters this past Christmas was a sunlight print kit at a wonderful local bookstore, The Toadstool Bookshop. I’ve been hoping to do this project with them for quite awhile now and given their ages, 6 and almost 4, I was sure it would hold their interest. The day before we were all headed back to school and work, it was mostly sunny, so we decided it was a good day to tackle the project. I was worried about finding natural objects to work with, but even in winter, there was plenty to choose from.
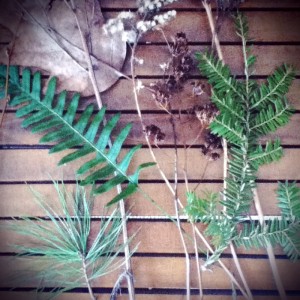 I happened upon a live fern on one of my walks so that became my object of choice. We also gathered other things outside our home for the girls to choose from: dried flowers, small lilac twigs, leaves and grasses. Ella has been collecting feathers for some time now so her choice was easy. Lucy’s first try involved some tiny flowers that unfortunately, didn’t end up working well. I think if we had pressed the flowers in a book it would have worked fine, but they weren’t quite flat enough to create a strong impression on the paper so we ended up doing a second one with a couple of oak leaves. This is an incredibly simple process and the results are almost immediate so for those with short attention spans, a perfect activity.
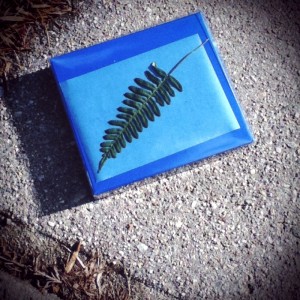 Sunlight paper with fern just placed in sunlight.
To start, we pulled individual sheets of paper from the protective black envelope, then placed our objects of choice on the sunlight paper and covered the paper with the clear plastic top that came with the kit to hold the object in place. We placed the paper in direct sunlight and waited until the bluish paper turned a whitish hue.
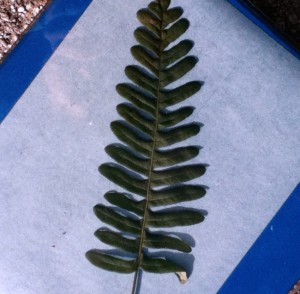 The blue paper turns whitish when exposed long enough to the sun.
The sun wasn’t cooperating with us that day and kept disappearing behind passing clouds so the usual 30 seconds turned into 15 minutes, but in the end, it worked just as well. When we removed Ella’s feather, the impression left by the object looked blue.
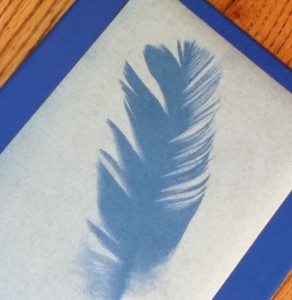 After exposure to the sun, the impression left by the object (in this case a feather) is blue.
We then took the paper, submerged and agitated it completely in water with a few drops of citric acid (we had limes on hand so a few drops of those worked just fine).
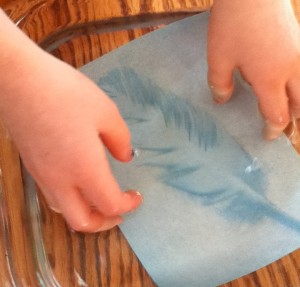 Ella sets her print in the water.
We then removed the print from the water fix and lay it flat to dry. The impression where the object was reversed its hue and turned more white while the surrounding area of the paper turned a beautiful deep blue while it dried.
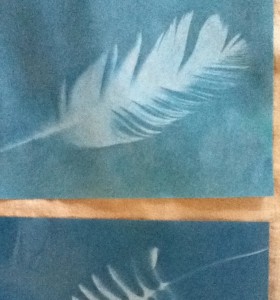 As the print dries, the color surrounding the object turns a deeper blue.
We’re planning to frame the three prints together to put in the girls’ work-in-progress bathroom when it’s completed. And, I’m sure come spring (if we can wait that long), we’ll all head out again to forage for some more objects to experiment with.
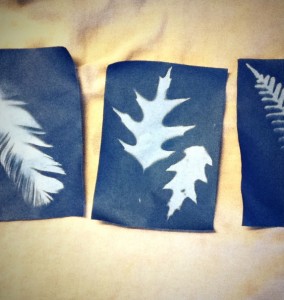 The dried prints feature a feather, oak leaves and a fern frond.
If you are interested in creating your own sunlight prints, below is the link to the kit we used. It includes a small book with a brief history of early photography along with ideas for prints including the recipe for how to make your own sunlight paper. It’s also easy to find sunlight paper in various sizes online as well.
 I happened upon a live fern on one of my walks so that became my object of choice. We also gathered other things outside our home for the girls to choose from: dried flowers, small lilac twigs, leaves and grasses. Ella has been collecting feathers for some time now so her choice was easy. Lucy’s first try involved some tiny flowers that unfortunately, didn’t end up working well. I think if we had pressed the flowers in a book it would have worked fine, but they weren’t quite flat enough to create a strong impression on the paper so we ended up doing a second one with a couple of oak leaves. This is an incredibly simple process and the results are almost immediate so for those with short attention spans, a perfect activity.
 Sunlight paper with fern just placed in sunlight.
To start, we pulled individual sheets of paper from the protective black envelope, then placed our objects of choice on the sunlight paper and covered the paper with the clear plastic top that came with the kit to hold the object in place. We placed the paper in direct sunlight and waited until the bluish paper turned a whitish hue.
 The blue paper turns whitish when exposed long enough to the sun.
The sun wasn’t cooperating with us that day and kept disappearing behind passing clouds so the usual 30 seconds turned into 15 minutes, but in the end, it worked just as well. When we removed Ella’s feather, the impression left by the object looked blue.
 After exposure to the sun, the impression left by the object (in this case a feather) is blue.
We then took the paper, submerged and agitated it completely in water with a few drops of citric acid (we had limes on hand so a few drops of those worked just fine).
 Ella sets her print in the water.
We then removed the print from the water fix and lay it flat to dry. The impression where the object was reversed its hue and turned more white while the surrounding area of the paper turned a beautiful deep blue while it dried.
 As the print dries, the color surrounding the object turns a deeper blue.
We’re planning to frame the three prints together to put in the girls’ work-in-progress bathroom when it’s completed. And, I’m sure come spring (if we can wait that long), we’ll all head out again to forage for some more objects to experiment with.
 The dried prints feature a feather, oak leaves and a fern frond.
If you are interested in creating your own sunlight prints, below is the link to the kit we used. It includes a small book with a brief history of early photography along with ideas for prints including the recipe for how to make your own sunlight paper. It’s also easy to find sunlight paper in various sizes online as well.
The dried prints feature a feather, oak leaves and a fern frond.
If you are interested in creating your own sunlight prints, below is the link to the kit we used. It includes a small book with a brief history of early photography along with ideas for prints including the recipe for how to make your own sunlight paper. It’s also easy to find sunlight paper in various sizes online as well.Heather Marcus
Heather Marcus is the senior photo editor for Yankee Magazine. She works closely with the art director and a large group of contributing photographers to tell our stories about people and place in a compelling way. Living and growing up in New England, she continues to be inspired by the communities, the landscape, and the wonderful visual opportunities the region affords.
More by Heather Marcus

