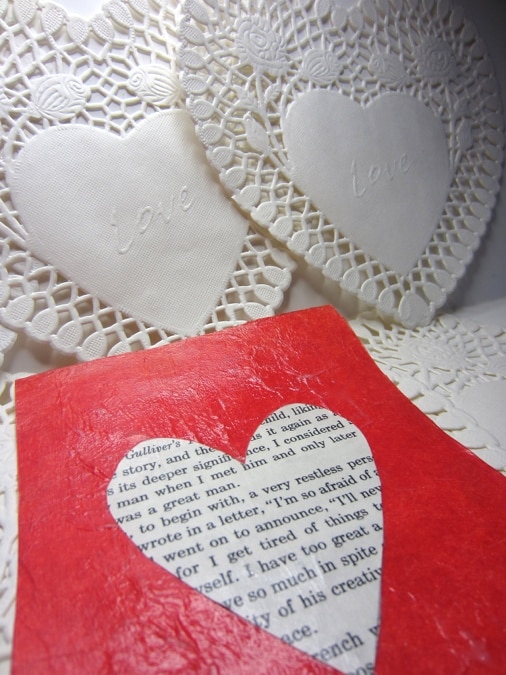
Make Tissue Paper Valentines
Handmade valentines have become a lost art. Although it’s convenient to buy mass produced valentines, many people still prefer, and treasure, the handmade ones. I love the simplicity of these tissue paper valentines– they’re created from a few easy-to-find materials and can be made fairly quickly. The end result is a valentine that can be […]


Materials to Make Tissue Paper Valentines:
- Red tissue paper
- Cardstock or other thick paper (I used a recycled manila folder)
- Newspaper or a sheet of paper torn from a poetry or other book you no longer use
- Mod Podge
- Paintbrush
- Scissors

Directions to Make Tissue Paper Valentines:
- Cut the card stock into rectangles measuring 3 1/2″ x 5″.
- Crumple up the red tissue paper then flatten it back out. This will give the tissue paper some texture for your valentine, as seen in the photo above.
- Cut the tissue paper into rectangles a little larger than the card stock.
- Apply a thin layer of Mod Podge to the card stock.
- Place one rectangle of the tissue paper onto the card stock. Press lightly on the tissue paper so that it adheres to the card stock. Flatten any wrinkles or bumps.
- If the tissue paper tears at any time you can apply another small piece of tissue paper over any of the tears. Simply apply the Mod Podge to the torn area and then apply the tissue paper.
- Apply a thin layer of Mod Podge over the valentine. This will seal the tissue paper to the card stock.
- Allow the Mod Podge to dry completely.
- Trim excess tissue paper from the edges of the valentine.
- Cut a heart shape out of newspaper or other recycled paper.
- Apply a thin layer of Mod Podge to one side of the heart and place it in the center of the valentine.
- Press the heart down.
- Apply a final thin layer of Mod Podge over the entire valentine.
- Allow the valentine to dry thoroughly.
Bonnie Thomas
Bonnie Thomas shares her ideas and instructions for simple Yankee crafts. Bonnie Thomas works full time as a child and family therapist in Southern Maine and is also an established artist and author. She has published two books via Jessica Kingsley Publishing, titled Creative Coping Skills for Children: Emotional Support Through Arts and Crafts Activities and Creative Expression Activities for Teens: Exploring Identity Through Art, Craft and Journaling. Don't miss her latest book, How to Get Kids Offline, Outdoors, and Connecting With Nature.
More by Bonnie Thomas

