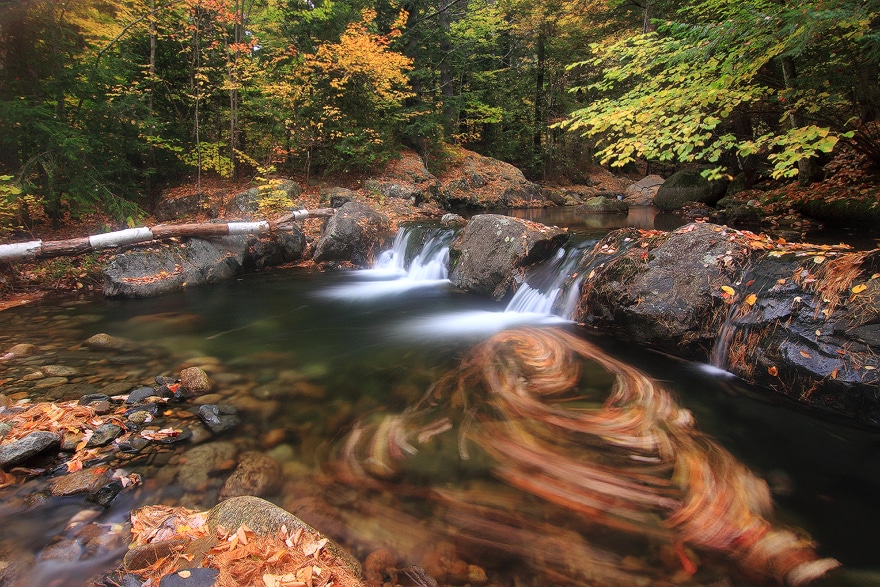
Using A Tripod Can Allow You To Capture A Scene With Long Exposures, Blurring Moving Components!
Photo Credit : Jim Salge
Capturing the quintessential fall foliage photograph requires a little planning. Location, light, equipment, technique, and an artistic eye all have to come together to make a truly great image. We pored through our archives and talked to some top local photographers to compile the best tips for taking stunning photographs this autumn.
How to Take Your Best New England Fall Foliage Photos
The one thing that came up again and again in talking with people this week is that the way we take pictures has changed dramatically in the past five years or so. Gone almost entirely from the marketplace are compact digital cameras — they’ve largely been replaced by cellphones, whose convenient cameras not only take great pictures but also allow filters and apps to enhance the images (which can then be shared instantly).
Enhanced technology has also changed the way we think about the biggest tip we’ve always given to fall foliage photographers: to use a tripod. With great images possible at nearly any digital film speed (ISO), there’s much less risk of blurring a shot in almost any light conditions, and handheld shots come out with much greater consistency.
Consider the Tripod
There are still plenty of reasons to use a tripod, though. When you put the camera in a fixed position, it forces you to slow down, to look at the edges of the shot and truly envision the composition. You can also incorporate longer exposures into your vision, as when blurring flowing water or moving leaves. (You can see examples for all mobile phones here.)
A tripod can allow you to use long exposures when capturing motion in your scene, like the whirling waters in this shot. Photo Credit : Jim Salge
Add a Polarizing Filter
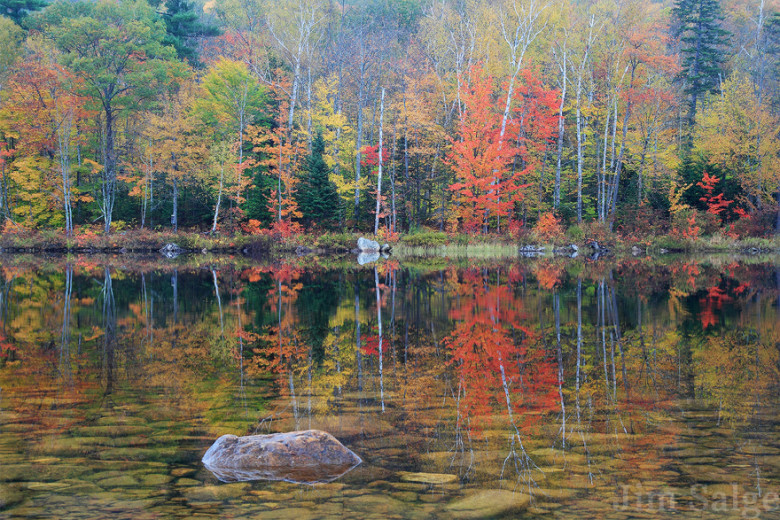
Another tried-and-true tip for photographing New England’s fall foliage has long been to use a circular polarizing filter on your lens. This advice still holds, especially for cellphone photography. While you can add almost any digital filter effect to a picture after you take it, there’s no filter that actually replicates what a circular polarizer can do while taking the shot. (You can see examples for all mobile phones here.)A circular polarizing filter can cut the glare off leaves and water. Photo Credit : Jim Salge
Simply put, these filters remove glare from any surface that reflects light. And few things in nature have more glare on them than leaves. Using the polarizer allows the true, intense color of the fall foliage to come through in your image, making for immeasurably better photographs. And getting one for your cellphone camera is easy — many just clip on over the camera when you want it.
Control Your Exposure
Using a polarizer on a cellphone is an easy technique to incorporate into the standard point-and-shoot method, but there are many ways to add even more control to these convenient cameras. Instead of letting the phone’s in-camera light meter decide the overall exposure, you can dramatically change the look of an image by tapping on the part of the image that you want properly exposed. I do this all the time when taking family pictures — making sure to tap on a person’s face to ensure he or she can be seen properly in the scene.
Play Around with Apps
Going a step further, you can download any number of advanced camera control apps to your phone, too (I like Manual for iPhone). This will help you really explore the artistic potential of using your phone.
Old Advice is Good Advice
While technology is rewriting the photography playbook in many ways, much of the tried-and-true advice still holds no matter what you are using to capture autumn scenes.
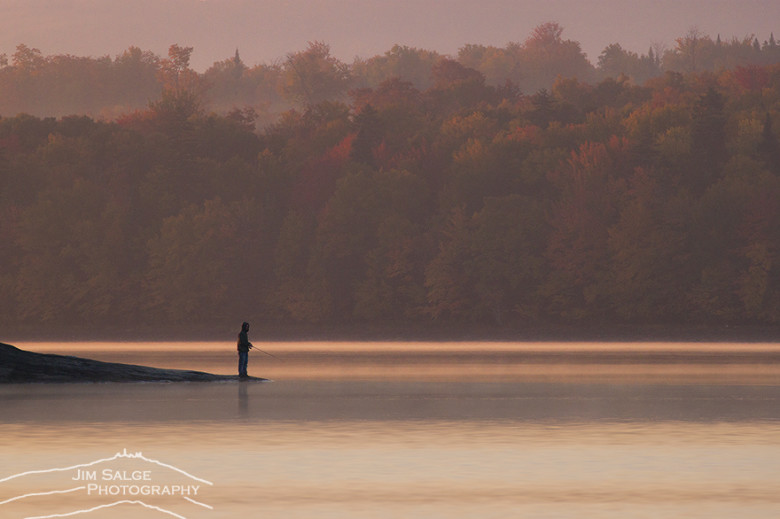
Most important: Time of day matters. The early morning and late afternoon light always creates better images than midday. Mist and fog, often present at dawn, add drama and mood to your shots. And the even light on cloudy days can really make the brilliant fall colors pop.
An early morning mist can help create a moody image. Photo Credit : Jim Salge
Additionally, the rules of composition that you may have learned in high school art class are always applicable.
The rule of thirds is paramount. Try to put the most important feature in your photograph a third of the way into the image, instead of dead center. Try to make the sky only a third of the image (or perhaps two thirds if you are actually taking a picture of a dramatic sky).
This shot of an angler demonstrates the “rule of thirds” in photo composition. Photo Credit : Jim Salge
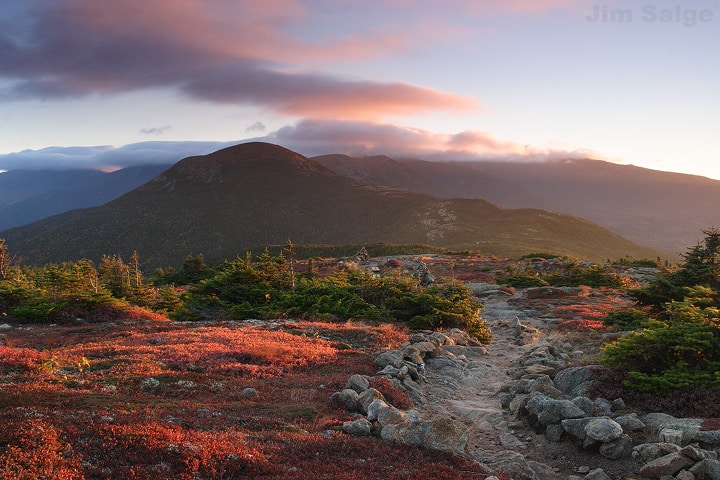
Look for opportunities to add depth to your images, including elements in the foreground, middle ground, and background. Anchoring an image with something close to you can bring perspective and scale to a scene — a lone tree in a field with mountains in the background, for instance. And look for “leading lines,” meaning things that allow your eye to move through the image from foreground to background.
This trail provides a “leading line” for the viewer’s eye. Photo Credit : Jim Salge
Finally, always personalize your images. Get creative, get low, and throw out the stigma and use a selfie stick. Make sure you include images of family and friends enjoying the trip and the great places you visit along the way. Use imagery to recall not only the sights but also the sounds of crunching leaves and songbirds and waterfalls, and the smells of cider doughnuts and pumpkin pies. Make images for yourself of the whole experience!
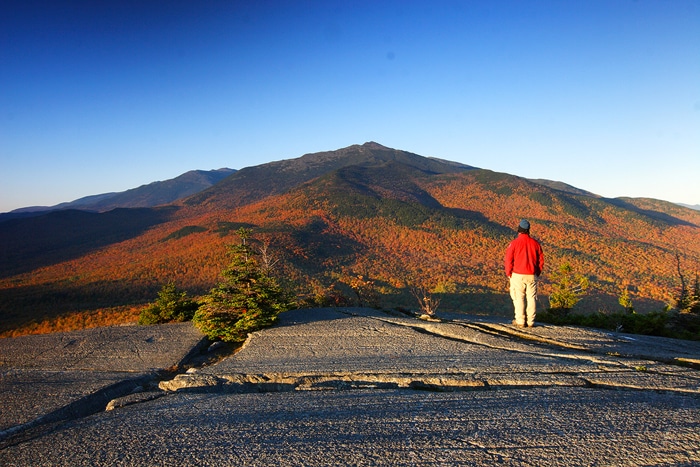
A friend enjoys the morning view after a hike in peak foliage. Photo Credit : Jim Salge
This autumn, as you travel around New England, there are plenty of ways to share your images with us, and the world. Tag your photos on Instagram and Twitter with #MyNewEngland to show us what you’re up to!
This post was first published in 2017 and has been updated.
As a former meteorologist at the Mount Washington Observatory, foliage reporter Jim Salge is a keen observer of the progression of the seasons in New England. He uses his knowledge of weather, geography and climate to pinpoint the best time to visit various New England locations to find the best light, atmosphere, and most importantly, color.