How To
Soda Can Tealight Holders
We had a lot of picnics this summer—this is par for the course at our house. So I’ve had extra empty soda cans on hand and I’ve been wondering if there is something fun I can make with them. I experimented with these soda can tealight holders and discovered they are actually very simple and […]
By Bonnie Thomas|Sep 08 2014|![]()
Coffee By Design | Portland, Maine
Photo Credit : Katherine KeenanPhoto Credit : Bonnie Thomas
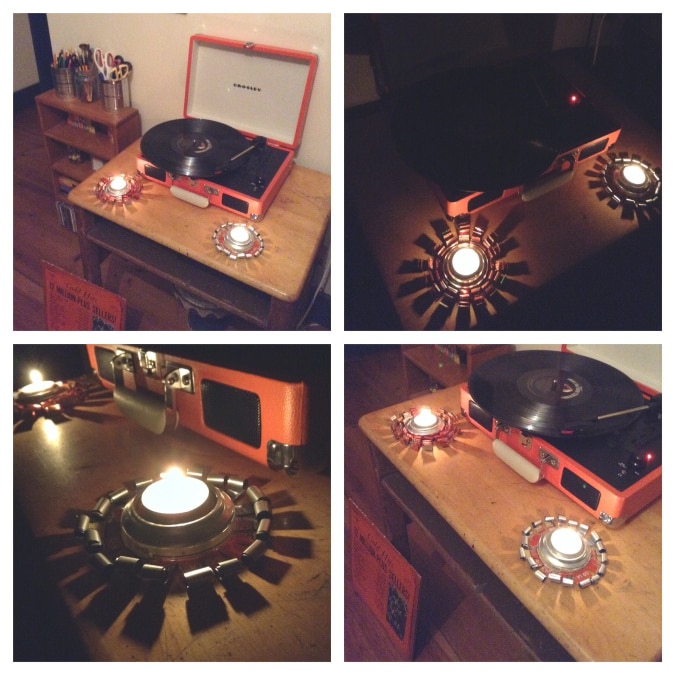
Photo Credit : Bonnie Thomas
Materials to Make Soda Can Tealight Holders
- Empty soda cans
- Sharp scissors
- Gloves (optional)
- Tealights
Directions to Make Soda Can Tealight Holders
- First and foremost, be aware that soda cans can be very sharp once you puncture or cut them. You should wear thin protective gloves for this project.
- Lightly puncture a soda can with the tip of your scissors, about 1″ from the top of the can.
- Remove the top portion of the can: Insert the tip of your scissors into the puncture hole and then cut entirely around the can following about 1″ from the top.
- Cut vertical strips in the can from the top to the bottom rim. The strips should be about 1/2″ wide.
- Flip the can upside down—the concave bottom of the can is where your tea light will fit. Keep the can upside down and place it on a flat surface, then pull the strips outward and then press the can down so that it sits flat.
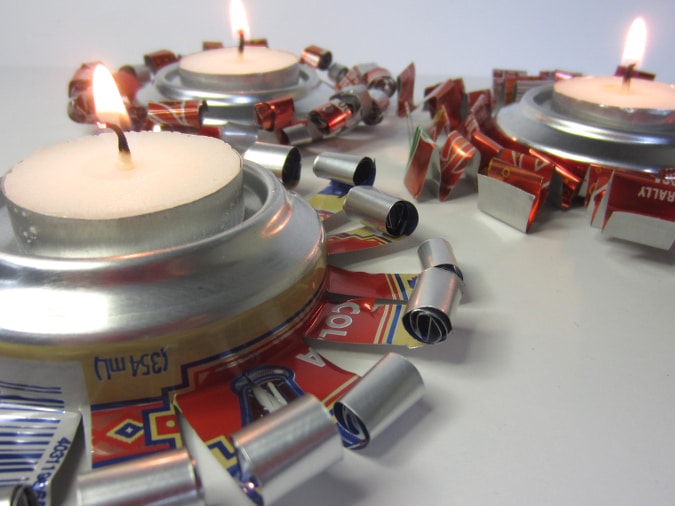
- There are 2 different methods of shaping the strips that I find easiest. The first is to roll each strip toward the bottom of the can which makes a curl design. The second method is to fold each strip accordion style toward the bottom of the can. However, get creative and try different folding or rolling techniques! The strips will cast interesting shadows once your tea light is lit, so the more intricate the design, the better.
- Make final adjustments and touch ups to the holder.
- Place a tealight in the concave center of the holder. Light the candle and enjoy!
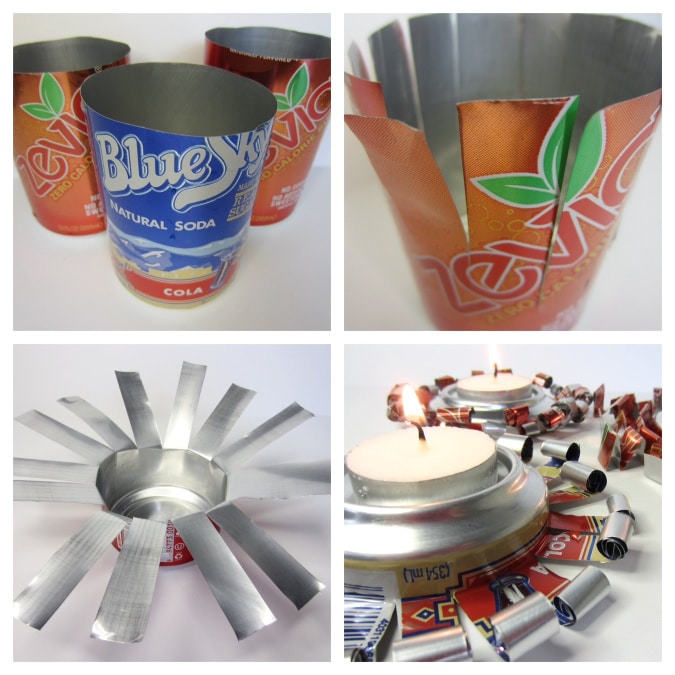
Photo Credit : Bonnie Thomas