How To
Tattooed Easter Eggs | Easter Craft
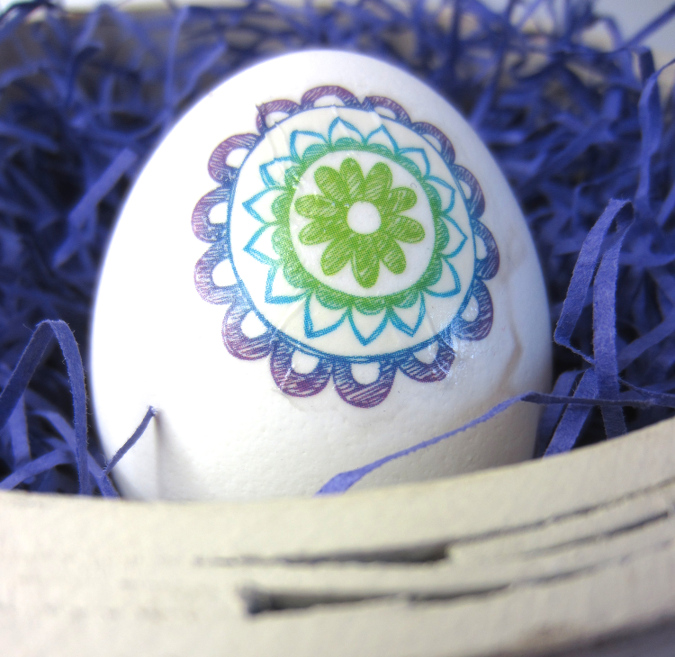
I don’t know about you, but I’m ready for some spring-related crafts. Easter provides a wonderful opportunity to explore new DIY projects. For most people, egg decorating is at (or near) the top of the list, and it seems there are a-million-and-one ways to decorate Easter eggs. Over the years, I have experimented with some of […]
By Bonnie Thomas|Mar 23 2015|![]()
Coffee By Design | Portland, Maine
Photo Credit : Katherine KeenanPhoto Credit : Bonnie Thomas
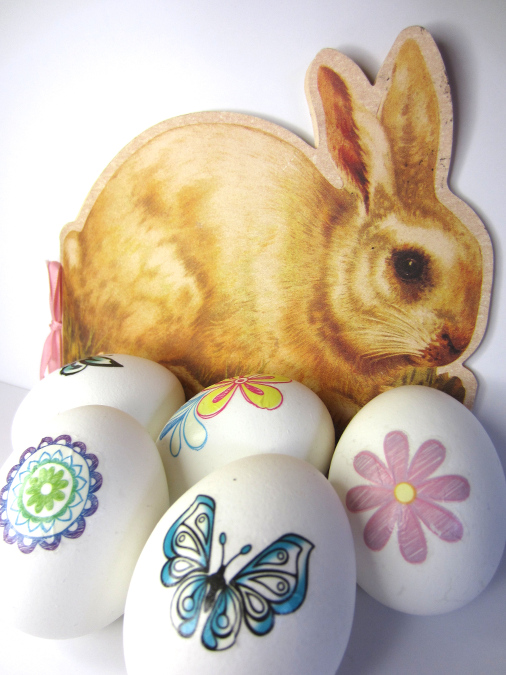
Photo Credit : Bonnie Thomas
Materials needed to make Tattooed Easter Eggs:
- Boiled eggs (you do not need to use white eggs for this project)
- Temporary tattoos
- Warm water
- Paper towels
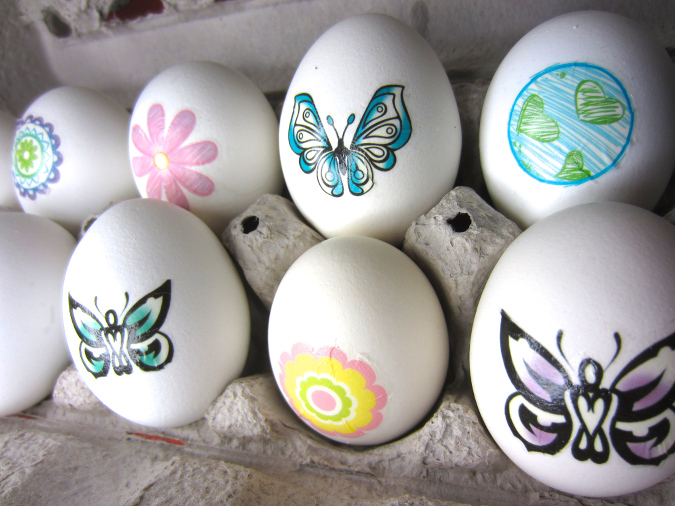
Photo Credit : Bonnie Thomas
Directions for making Tattooed Easter Eggs:
- Cool the boiled eggs before using them for this project. You can refrigerate them to cool them off, or you can set them outside to cool if you live in a cold area like I do.
- If your tattoos are on a sheet of paper, you will need to cut out the images you are going to use. Cut the images as close as possible to the size and shape of the tattoo – this will make it easier to apply to the curves of an egg.
- Put warm water in a cup or bowl.
- For most temporary tattoos the following directions work great, but double check the directions on your own tattoos in case they are different: Place the tattoo face down onto the egg. Flatten the image as best as possible to fit onto the egg. Use a paper towel dipped in the warm water to rub the back of the tattoo until the tattoo adheres to the egg. Use a dry paper towel to wipe off excess water.
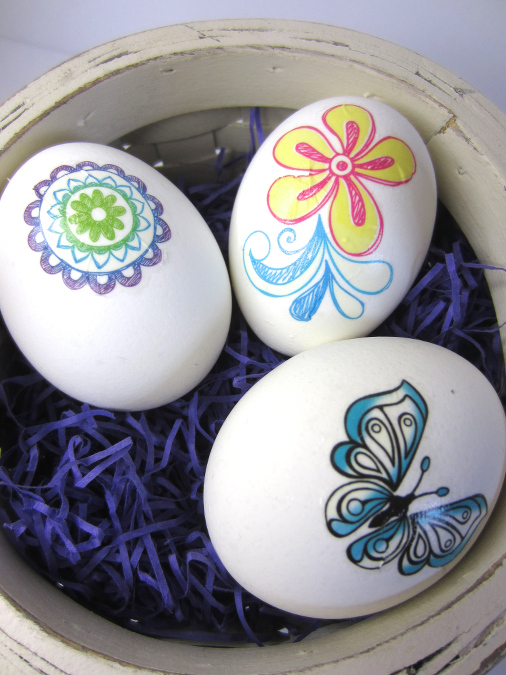
Photo Credit : Bonnie Thomas