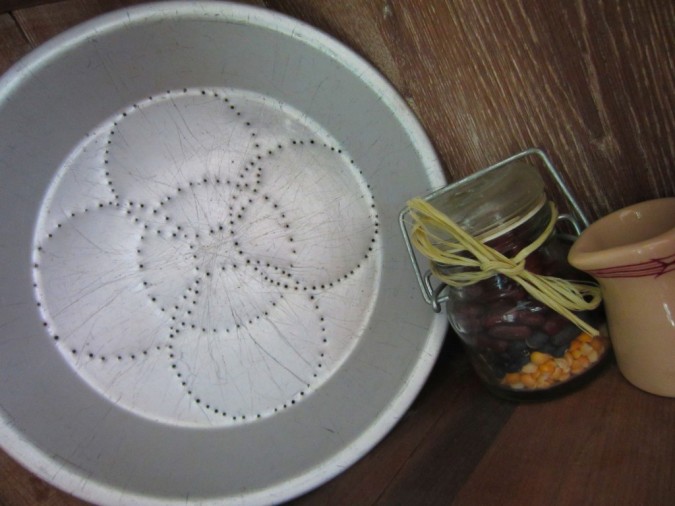
How To

Crafts | Punched Tin Pie Plates

When my family moved into our house years ago, I looked at the empty spaces waiting to be filled throughout our home. Being on a budget, I needed to find an economical way to decorate a house full of white walls. I knew it would be a challenge, but I rolled up my sleeves and […]
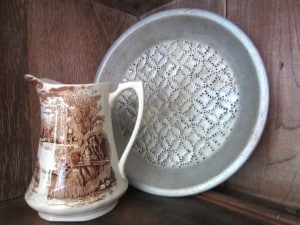
A ceramic pitcher with a brown pastoral scene stands next to a tin pie plate with a perforated pattern, both placed on a wooden surface.

Coffee By Design | Portland, Maine

Photo Credit : Katherine Keenan
When my family moved into our house years ago, I looked at the empty spaces waiting to be filled throughout our home. Being on a budget, I needed to find an economical way to decorate a house full of white walls. I knew it would be a challenge, but I rolled up my sleeves and got to work.I scoured the local library for books about inexpensive decor and craft ideas and came across a project that used punched tin patterns on pie plates. It became one of many crafts that helped me decorate our new home (built to emulate a house from the 1800’s) quickly without breaking the bank. Punched Tin Patterns on Pie Plate
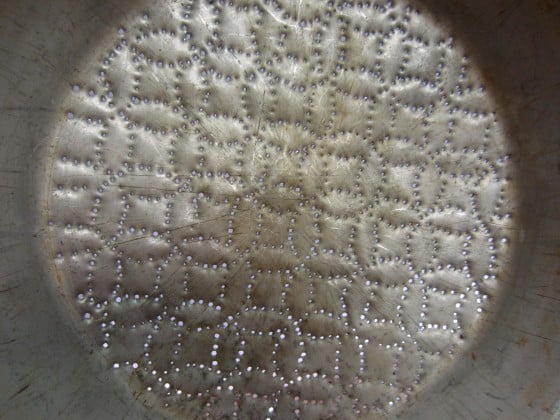
Punched Tin Detail
Punched Tin Detail
Photo Credit : Bonnie Thomas
If you have any older pie plates at home (made from any type of metal—it does not need to be “tin”), a hammer and a nail, then you can make this craft for free.  It doesn’t get more affordable than that.  If you do not have an older metal pie plate you can find them at yard sales or antique shops, or ask your friends if they have any they would like to unload.
Punched tin patterns can be as simple or complex as you want to make them.
Photo Credit : Bonnie Thomas
You can also get creative and try using metal platters, serving trays, or cookie sheets.

Materials to Make Punched Tin Pie Plates

  • Metal pie plate
  • Hammer
  • Nail
  • Paper
  • Pencil
  • Masking Tape
  • Recycled cardboard

Directions to Make Punched Tin Pie Plates

  • Cut out a piece of paper that will fit the inside of the pie plate.
  • Draw a design onto the paper (it helps to practice this first).
  • With detailed designs it will help to pencil in each spot where you want a “punch”.  Make sure to use the same distance between holes to create uniformity and clean lines.
  • Tape the designed paper to the inside of the pie plate.
  • Place thick recycled cardboard underneath your project before hammering.
  • Use your hammer and nail to punch holes along the design.
  • Remove the paper when you have finished punching all the holes.
This is a craft that has typically been used in very traditional ways with very traditional punched tin patterns and designs. However, like cross stitching, embroidery and other recent trends in crafting, you have the creative freedom to stretch this craft a bit further to meet your needs (and sense of humor).

Bonnie Thomas

More by Bonnie Thomas

Leave a Reply

Your email address will not be published. Required fields are marked *

Login to post a comment