


How To
Plaster of Paris Hearts | Valentine’s Day Project
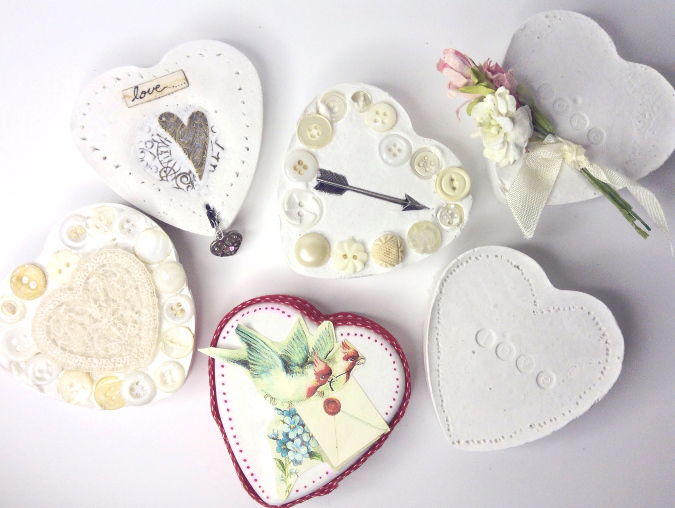
Plaster of Paris is not a medium that I’ve worked with before, so I was curious to see how this Valentine’s Day project would turn out. I envisioned hearts made of plaster to which various embellishments could be added for decoration. The hearts would be used for ornaments and wall decor. The key materials in this project are […]
By Bonnie Thomas|Jan 26 2015|![]()
Coffee By Design | Portland, Maine
Photo Credit : Katherine KeenanPhoto Credit : Bonnie Thomas
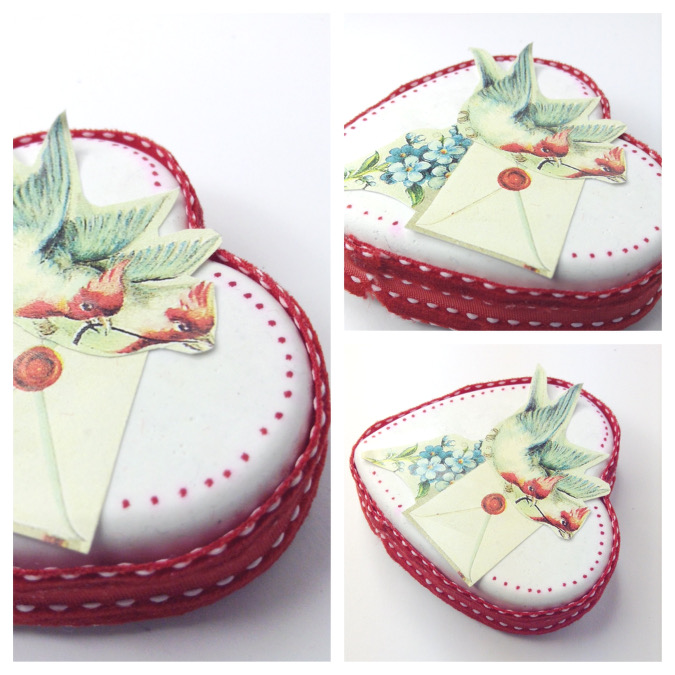
Photo Credit : Bonnie Thomas
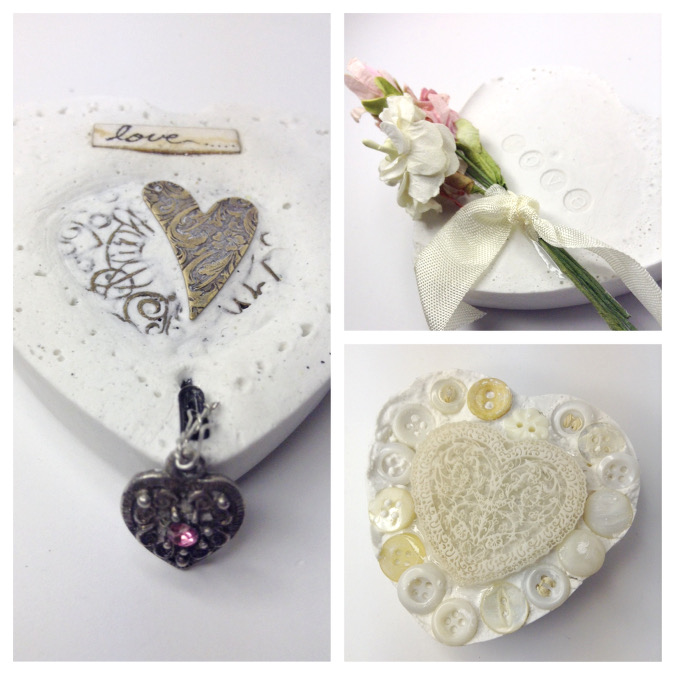
Photo Credit : Bonnie Thomas
Materials to Make Plaster of Paris Hearts
- Plaster of Paris
- Silicone heart mold
- Paper clips
- White all-purpose glue (not a glue stick)
- E600 glue
- A toothpick
- Ribbon to hang the ornaments
- Various decorations of your choice, such as buttons, ribbon, metal charms, rubber stamps, or paper images
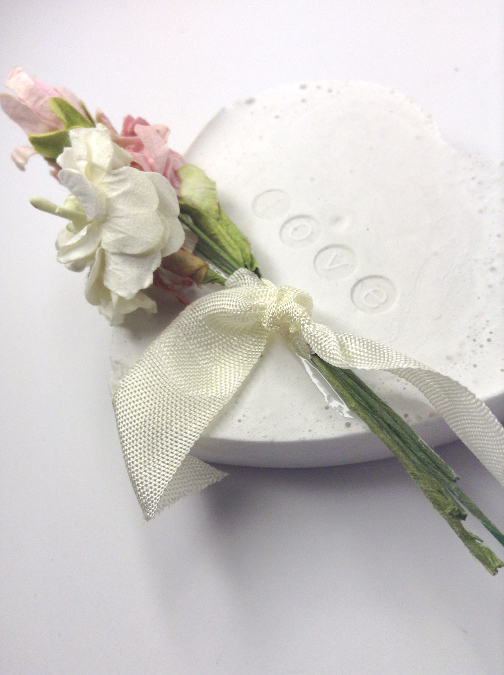
Photo Credit : Bonnie Thomas
Directions to Make Plaster of Paris Hearts
- Look at the images included here to get inspiration for how you want your hearts to look. I experimented with a few different styles and designs to help stimulate ideas.
- Gather your decorations ahead of time and have them ready to add to your hearts. Buttons, metal charms, and stamped images can be added directly into the plaster – if you are using these materials, have them set aside where you can access them easily. Plaster of Paris solidifies quickly.
- Mix the Plaster of Paris according to directions. I mixed about 2 cups of the plaster at a time, but you might need more or less depending on the size of your heart-shaped molds.
- Spoon the wet plaster into the heart-shaped molds. I filled my molds about 1/2 – 3/4 full.
- Tap the sides of the molds to release air pockets from the plaster.
- Gently place charms or buttons onto the hearts. When the plaster starts to solidify, you can gently nudge the buttons into the plaster a little bit deeper for better hold. This is also the time to use your rubber stamps to decorate the surface, or a toothpick to make polka dots around the edges of your hearts.
- Allow the hearts to harden before removing them from the silicone. I waited about 2 hours to remove them from the mold.
- Make sure the hearts have fully hardened and cured before going on to the next step.
- If you want to add any paper images to your hearts, you can attach them with white glue.
- If you want to add any metal charms, ribbon, or other non-paper items to the heart, you can attach them with E600 glue.
- Allow decorations to dry.
- Flip the hearts over. Use E600 glue to apply a paper clip to the back of the heart – this is a makeshift hanger for your hearts. You can certainly buy other hangers, but paper clips are accessible and inexpensive. I glued my paper clips to the top of the hearts where they dip – I left a little room for a ribbon or string to go through, and then I applied a healthy layer of E600 to make sure the paper clip would be well secured.
- Allow the glue to dry completely.
- Put a string or ribbon through the paper clip hangers, and they are ready to hang!
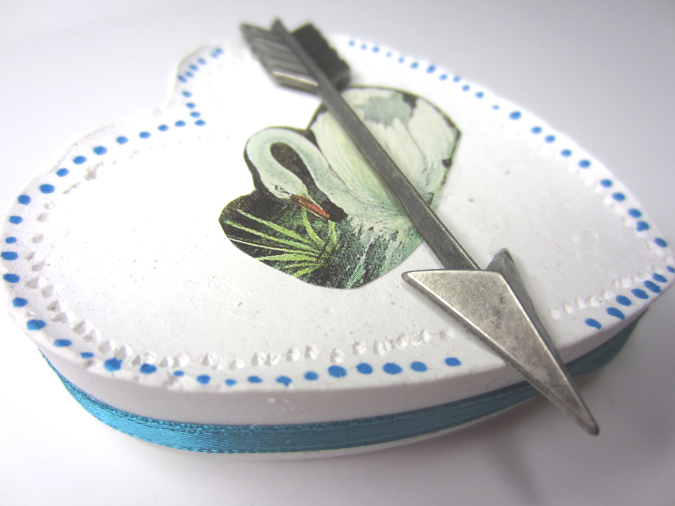
Photo Credit : Bonnie Thomas


Did the e600 hold? I know that plaster is a difficult surface to glue too as it is so pourus. I’m wondering if they ever fell from the hanging spot because the paper clip had left go? Thank you!!