Make a Custom Stencil
Stencils, mainly in the form of adhesive wall stencils (really more like stickers), have become all the rage in the past few years. I think we are nearing the end of this trend, but I would love to see a return to real stenciling—the definition being “a thin sheet of material, such as paper, plastic, […]
Stencils, mainly in the form of adhesive wall stencils (really more like stickers), have become all the rage in the past few years. I think we are nearing the end of this trend, but I would love to see a return to real stenciling—the definition being “a thin sheet of material, such as paper, plastic, or metal, with letters or a design cut from it, used to produce the letters or design on an underlying surface by applying pigment through the cut-out holes in the material.” Got that?! No more taking the easy way out with wall stickers meant to mimic real stenciling. Let’s get back to the real thing.
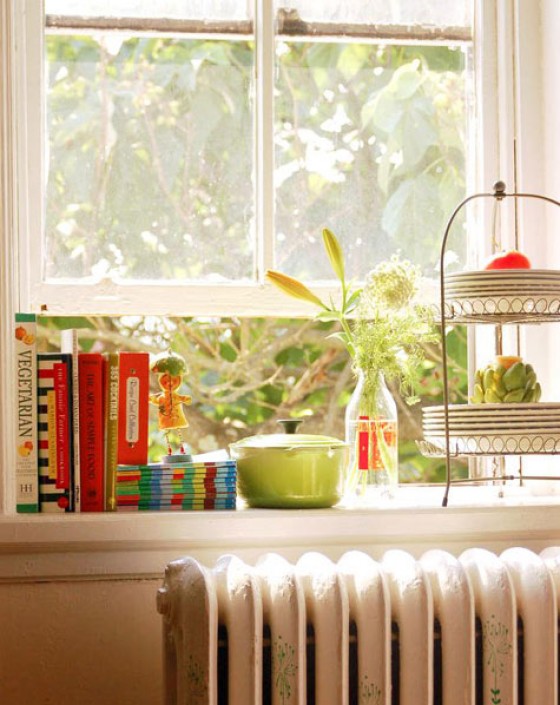
In my old apartment, I had a cool, old radiator that sat underneath my sunny kitchen window. When I grew tired of looking at its blank white surface, I decided that it could use a pattern. Using inspiration from a Skinny laMinx tea towel that I had, I decided on a flower pattern. Here is a closer look: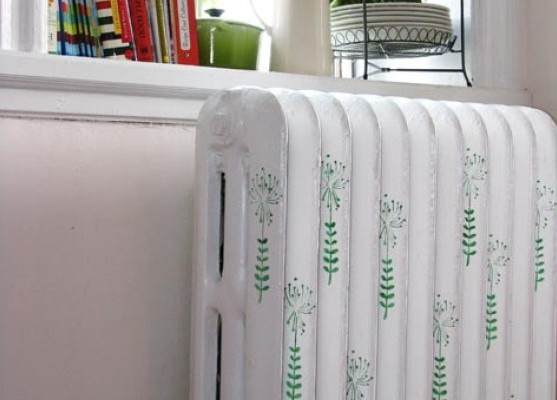
Another favorite stencil projects: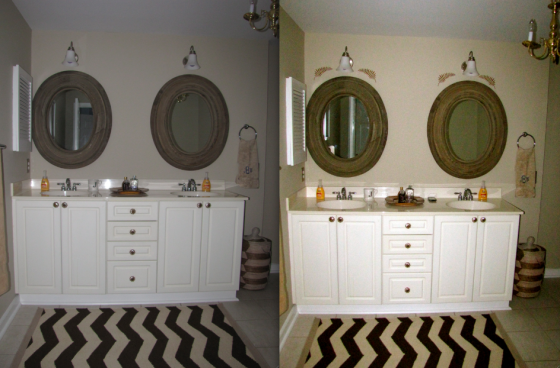
This is a very subtle stencil, done over the mirror to make the light fixtures (which are too small for the space) appear bigger. The result is just enough to change the feel of the bathroom—understated, yet effective. So how is a perfect stencil achieved? Just follow these four simple steps.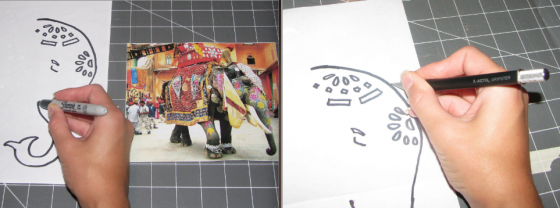
Instructions for Making a Stencil
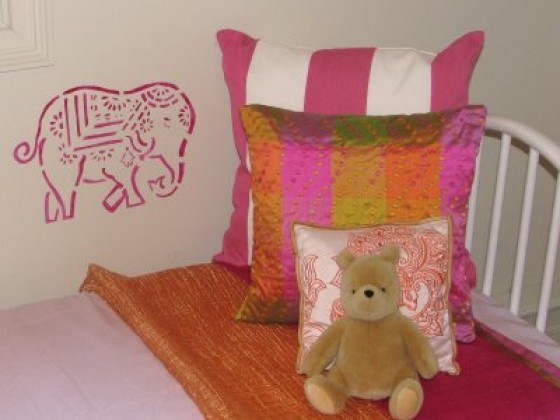
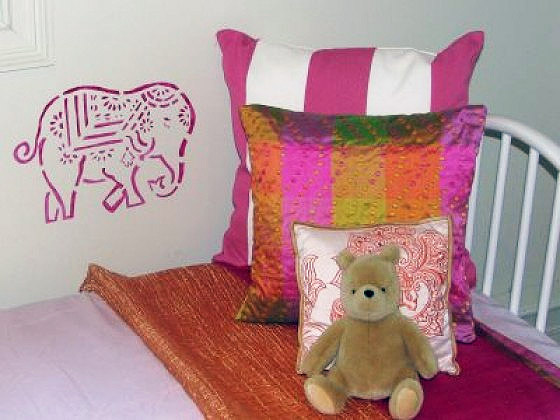
Step 1: Find a picture or pattern to inspire your stencil. For this little girl’s room, I decided on an Indian wedding elephant. Draw your pattern onto a sheet of white paper.
Step 2: Cut out design using a sheet of Mylar, a utility knife and a self-healing cutting board. Tape your paper to the cutting board, then tape the sheet of Mylar over the paper, so that while you are cutting, everything stays in place.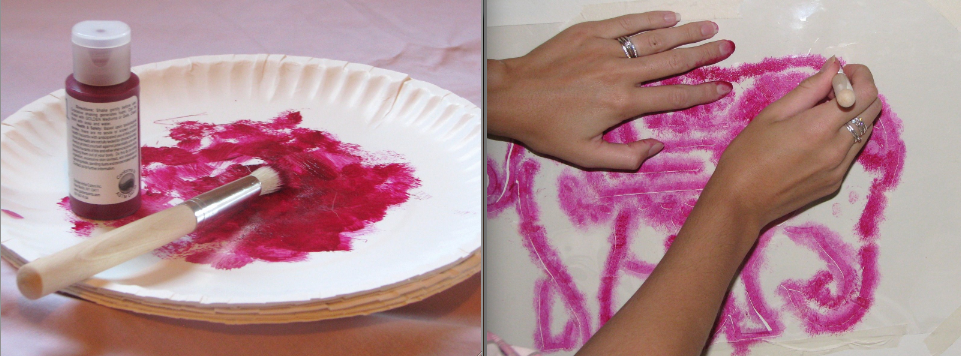
Step 3: Using a type of paint that is appropriate for the surface you are stenciling, pour a bit onto a paper plate. Load your paintbrush with a fine coat of paint. Make sure you use a stencil brush, which has hard bristles and a flat top.
Step 4: Tape stencil to desired area (use masking tape, so that if it is a painted surface, the tape doesn’t damage the paint) and stipple the design. Stippling is a paint technique which calls for dotting the paint, rather than stroking it. Peel your stencil from wall when done, and repeat, if desired.