How To
Make Ribbon Organizers
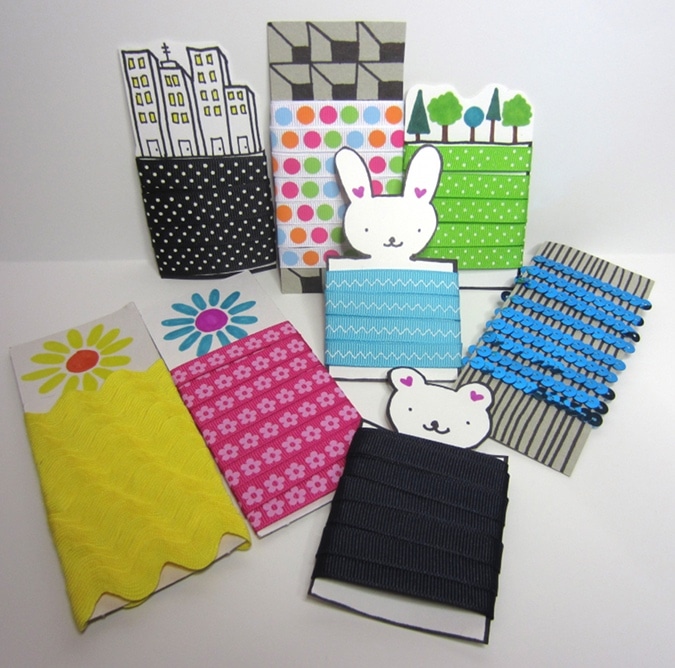
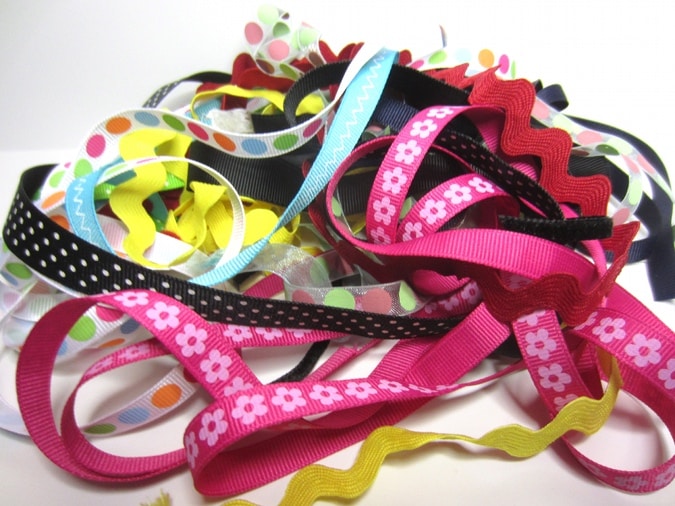
After a long and snowy winter, I have made quite a mess of my craft supplies. This week I set a goal to de-clutter and organize my materials before sunny spring weather arrives. Although most of my craft supplies can be put into labelled storage boxes and jars, I cringed when I came across this […]

Coffee By Design | Portland, Maine
Photo Credit : Katherine Keenan
Photo Credit : Bonnie Thomas

Photo Credit : Bonnie Thomas
Materials needed to make Ribbon Organizers:
- Thin cardboard (I used recycled cereal and cracker boxes)
- Sharpie markers
- Scissors
- Tape
Directions to make Ribbon Organizers:
- Cut the cardboard into rectangle shapes, about 4″ x 2 1/2″.
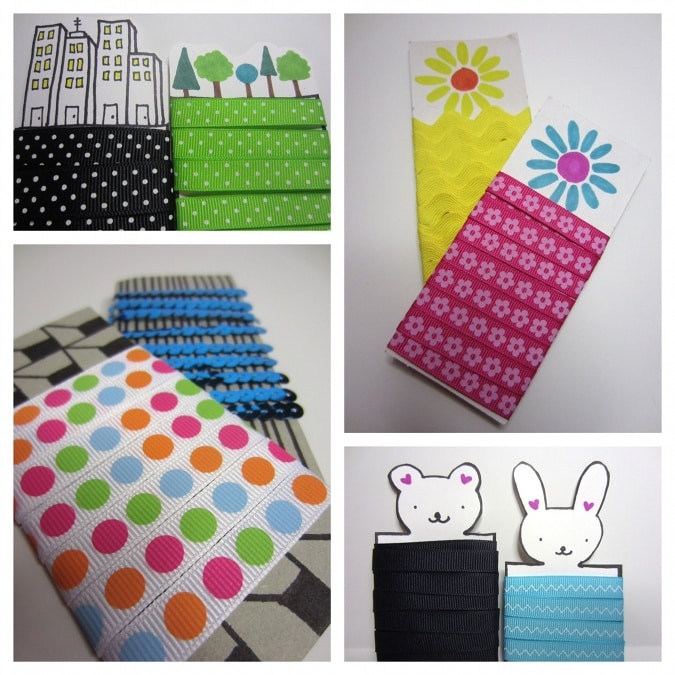
- Use the Sharpie markers to decorate the cardboard with designs, pictures, or patterns.
- Trim around the top of the ribbon organizer if you like (this will give it more detail but is not necessary).
- Turn the cardboard over. Place the end of the ribbon near the top of the cardboard and secure it into place with a piece of tape.
- Wrap the ribbon around and around the cardboard.
- When you get to the end of the ribbon, tape the end in place. (If your ribbon comes to an end at the front of your organizer you can unwind it by one row and fold the ribbon in place to the back of the organizer. Secure it in place with a piece of tape.)

Photo Credit : Bonnie Thomas


