How To
Make Inspiration Tags
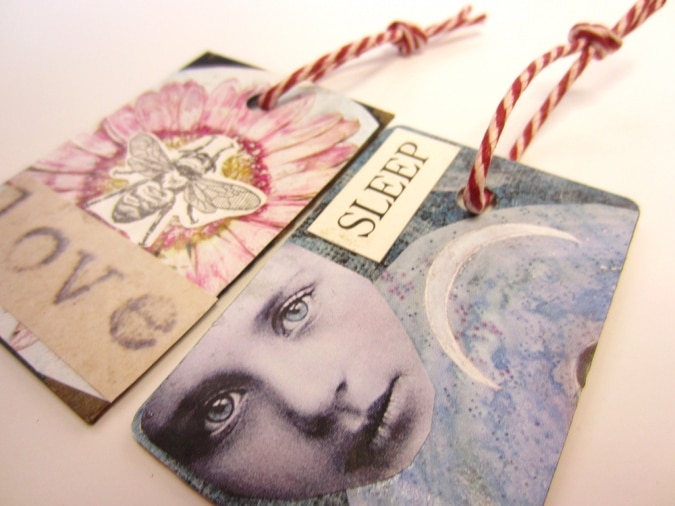
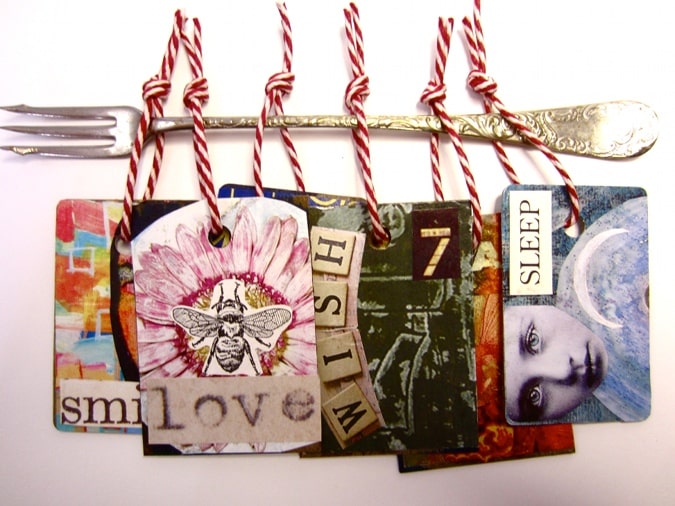
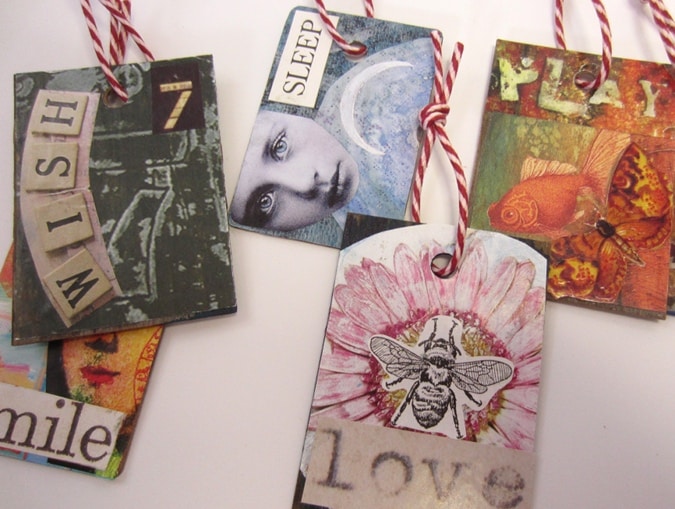
Inspiration Tags are small tags created from cardboard, or repurposed from countertop samples, that you decoupage with words and pictures that inspire you. The tags can be strung along a garland or ribbon, a stick, or in this example, a pickle fork (I love discovering new ways to display items and repurpose household goods). You […]

Coffee By Design | Portland, Maine
Photo Credit : Katherine Keenan
Photo Credit : Bonnie Thomas
- Make some Inspiration Tags as a gift for someone. You can create a theme for the tags as an added personal touch. For example, if you were making these for a mom on Mother’s Day, each tag could represent things you are thankful for about her, favorite memories of your time spent together, or places you’ve been together. If you were making these for your child’s teacher (i.e. as an “end of the school year” thank you gift), you could write a quote on each tag of what your child learned and admired most about the teacher during the school year.
- Inspiration Tags are a creative expression activity that can be done in art therapy, counseling sessions, or with any person or group who would enjoy a creative way to express their goals, inner strengths, or hopes and dreams. I have made these with both child and adult clients in my therapy practice– my clients love to make them!
- Make a set of Inspiration Tags for yourself. You could create tags based on a theme of places you want to travel or explore; a theme of inspirational words and quotes; a “bucket list” theme; or pictures and/or artwork that you love.
Materials Needed to Make Inspiration Tags
- Countertop samples or cardboard (the cardboard can be recycled from cereal or cracker boxes)
- A hole punch (if using cardboard for your tags)
- Magazines
- Mod Podge or other decoupage glue
- Scissors
- Paintbrush
- Twine or string
- Something to hang the tags on such as a ribbon, stick, or wooden dowel

Photo Credit : Bonnie Thomas
Directions to Make Inspiration Tags
- If you do not have countertop samples, cut equal sized rectangle shapes from cardboard.
- Look through your magazines and cut out any words, pictures, or quotes you find inspiring.
- Arrange the words and images onto your tags to make sure they will fit your tags. Trim as needed.
- Use your paintbrush to apply a thin layer of Mod Podge to the underside of an image or word, one at a time. Overlap and/or trim the images as needed until each tag is decorated as you like.
- When the tag is complete, apply a final thin layer of Mod Podge over the tag as a finish.
- Allow the tags to dry.
- If you use cardboard for your tags, make a hole at the top of each tag using your hole punch.
- Tie a a loop of string or twine through each tag top.
- Now string the tags along ribbon, a stick or dowel.
- If you made several tags, you can always overlap the tags as needed so that only a few at a time are displayed.


hi bonnie and yankee!
i am reaching out here in hopes that you might help me to promote my very new england event: a seaside book party held in bristol, ri on june 14.
i am a rhode island craft author and home decor writer and my second book, seaside tinkered treasures (cico books) was released in march. i am hoping the event could be listed on the calendar or the book could be included in an upcoming issue.
many thanks!
elyse
tinkeredtreasures.com