How To
Make Halloween Treat Bags
Halloween treat bags can be made for parties, trick-or-treaters, or to share with friends and loved ones.
By Bonnie Thomas|Oct 03 2016|![]()
Coffee By Design | Portland, Maine
Photo Credit : Katherine KeenanPhoto Credit : Bonnie Thomas
Materials to Make Halloween Treat Bags
- Miniature to small paper bags (these can be purchased at a craft store, usually in the gift bag section)
- Black and orange decorative ribbon or twine
- White and black acrylic paint
- A paper plate
- A pencil with an attached eraser that hasn’t been used
- A hole punch
- Scissors — if you have a pair that cuts with a decorative edge, that’s even better!
- Glue
- Newspaper, old newsprint, or an old book page
- Black Sharpie marker
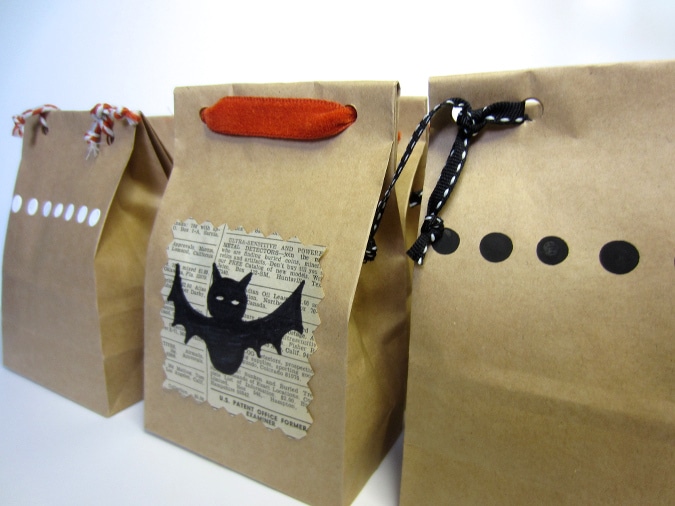
Photo Credit : Bonnie Thomas
Directions to Make Halloween Treat Bags
- Divide your bags into 3 equal piles.
- To make the polka dotted bags, pour a small amount of the white or black paint onto your paper plate. Dip the tip of the pencil eraser into the paint and then use the eraser like a stamp to make a line of polka dots across the bags. Do 1/3 of your bags with the white polka dots and then 1/3 of your bags with a line of black polka dots. Set these bags aside to dry.
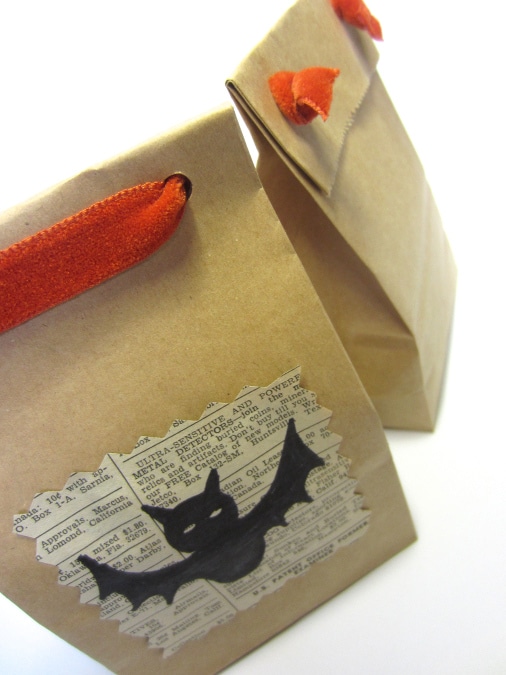
- To make the bat bags, use your scissors to cut small squares of newsprint. Draw and color a bat onto each square using the black Sharpie marker. Glue the square onto the remainder of your bags. (If you do not know how to draw a bat you could use bat stickers or draw something else that you feel comfortable drawing, such as a pumpkin or ghost).
- When the bags have dried, fold the tops over and use the hole punch to create 2 holes along the top edge. You can put them close together or further apart, but you will need 2 holes.
- Stand the bags up and fill them with with your holidays treats (or tricks!).
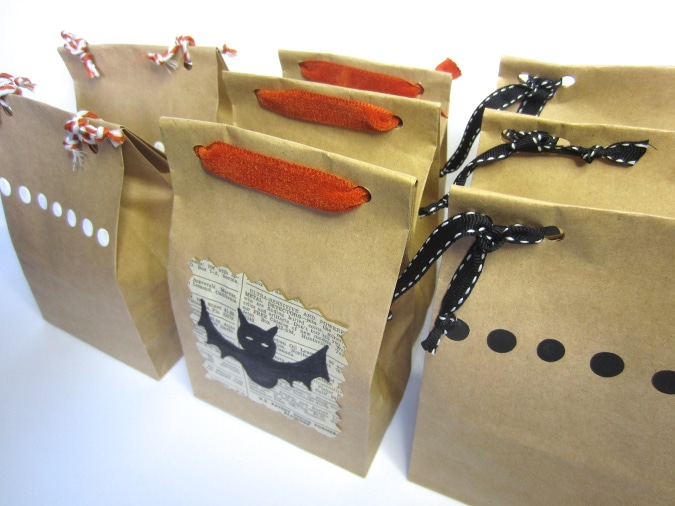
- Fold the tops of the bags over and then tie with your decorative ribbon. As you can see, I used different ribbon and experimented with different ways to tie them.
Halloween Treat Bags
Photo Credit : Bonnie Thomas

Photo Credit : Bonnie Thomas
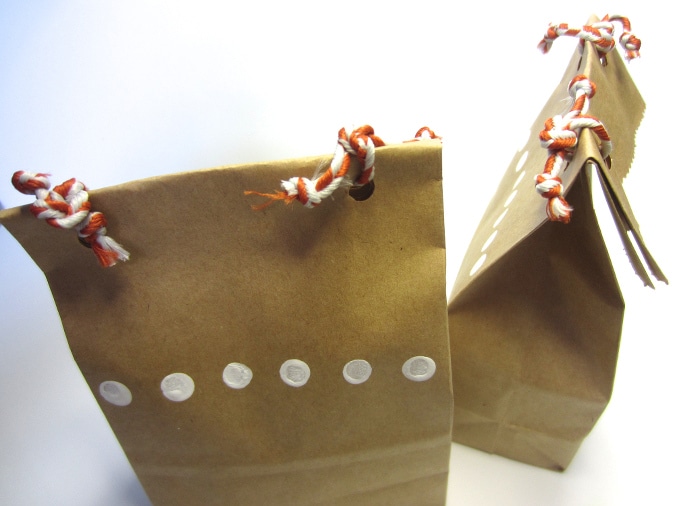
Photo Credit : Bonnie Thomas