How To
Halloween Crafts | Make Skeleton Decorations
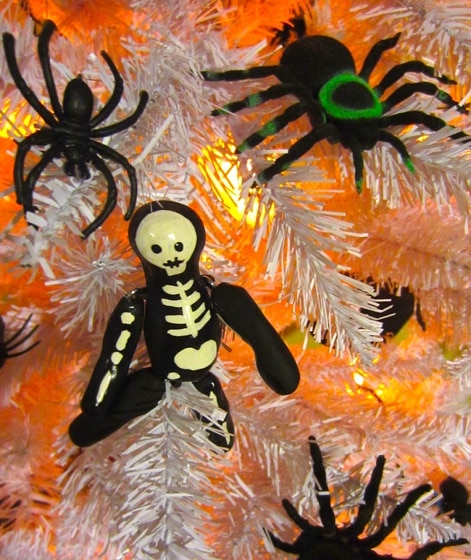
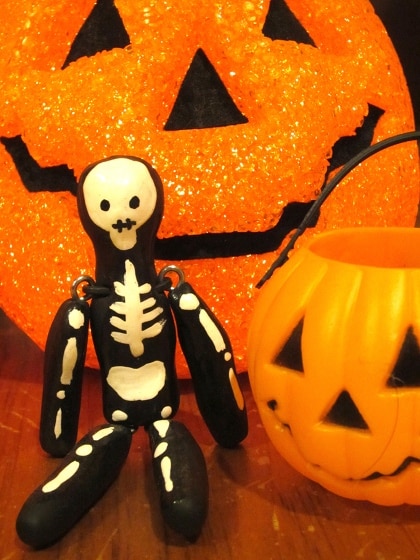
Halloween and Dia de los Muertos (the Day of the Dead) are the perfect occasions to make jointed skeleton decorations. This easy Halloween craft looks great propped up on shelves and window sills and mixed in with your holiday décor. Materials to Make Jointed Skeleton Decorations: Black polymer clay (i.e. Fimo or Sculpey) – you […]
Coffee By Design | Portland, Maine
Photo Credit : Katherine Keenan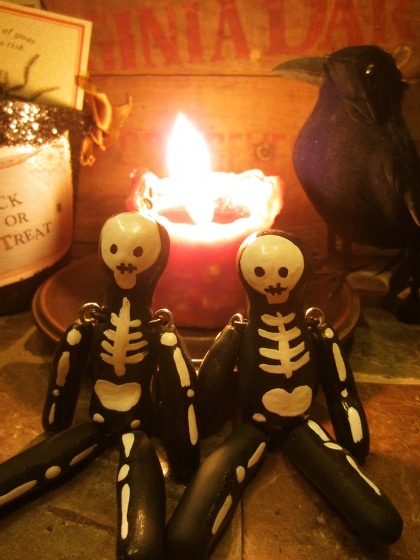

Materials to Make Jointed Skeleton Decorations:
- Black polymer clay (i.e. Fimo or Sculpey) – you will need about one small package per skeleton
- Small eye hooks (you can get these at the hardware store)
- 3/8” double point staples (you can also get these at the hardware store)
- White acrylic paint
- Black acrylic paint
- Small tipped paintbrush
- Toothpick
- Mod Podge
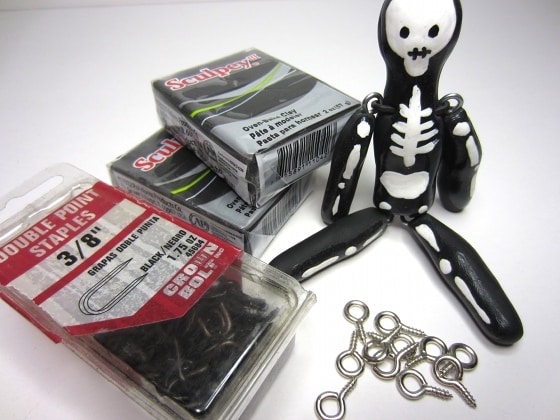
Gathering materials to make a skeleton
Directions to Make Jointed Skeleton Decorations:
You will be creating 5 parts of each skeleton figure you make. You will need to create 2 legs, 2 arms and a body.- Break apart the clay into 5 parts. You will need a larger piece of clay for the head/body, followed by 4 pieces of clay that will be the arms and legs. The arms will be slightly smaller than the legs.
- Knead, roll and shape the clay into body parts.
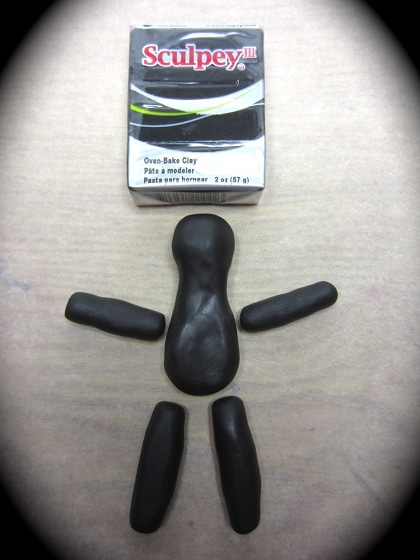
Shaping the clay into arms, legs and a torso with head - Insert 1 eye hook into the end of each arm and leg–only one eye hook per leg and only one eye hook per arm.
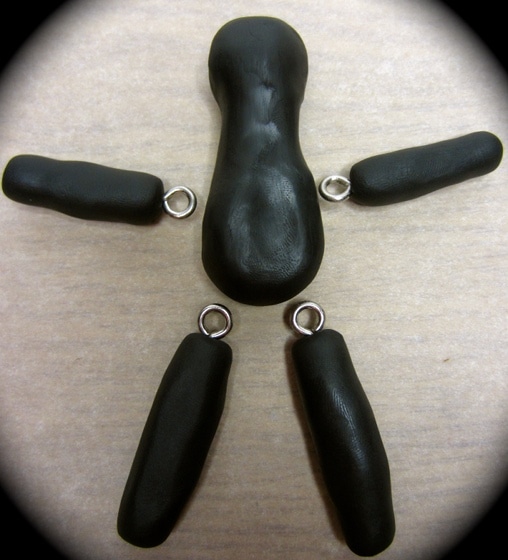
This is how the eye hooks go in - Connect the arms– Hook a staple through the eye hook loop in each arm and then insert the sharp end of the staple into the shoulder where the arm goes.
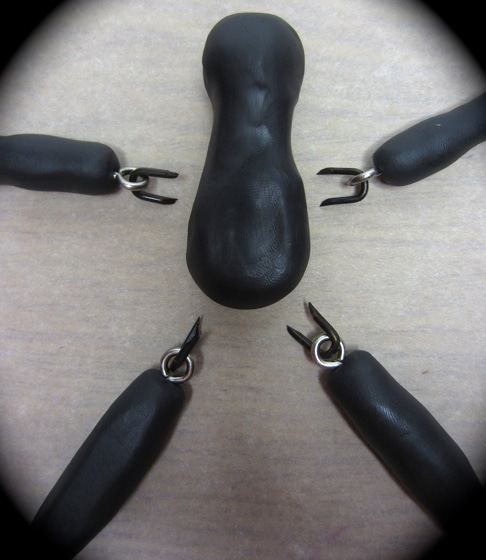
Double point staples slide through the eye hooks 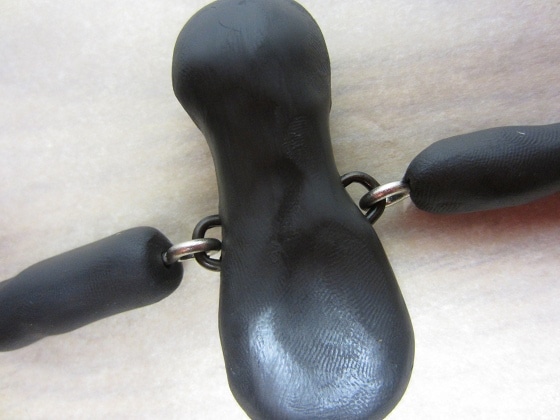
The arms are now connected to the body - Connect the legs—Hook a staple through the eye hook in each leg and then insert the sharp end of the staple into the body where the legs go.
- Make sure there is enough space for the joints to move—every now and then I have to adjust an arm or a leg to make sure it has mobility.
- Lay the skeleton onto parchment paper on a baking sheet.
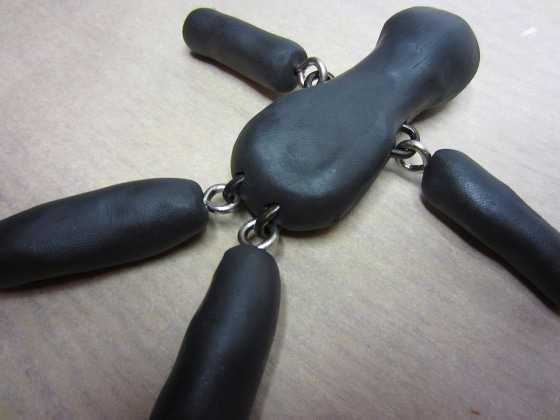
Lay the skeleton like this on a baking sheet for baking - Preheat your oven to 275 degrees.
- Bake your skeleton according to the directions on your polymer clay wrapper. Typically you bake polymer clays for about 15 minutes for each ¼ inch of clay.
- When done baking, allow skeleton to cool.
- Use a small paintbrush to paint white bones and a skull onto your skeleton. Allow paint to dry.
- Use a toothpick to apply black paint to the skeletons face—I dab one end of the toothpick in black paint and dot on the eyes, then dab it again to make the mouth. Allow paint to dry.
- Clean the paintbrush and dry it. Use the paintbrush to brush on a thin layer of Mod Podge only over the areas where you painted. Allow the Mod Podge to dry.
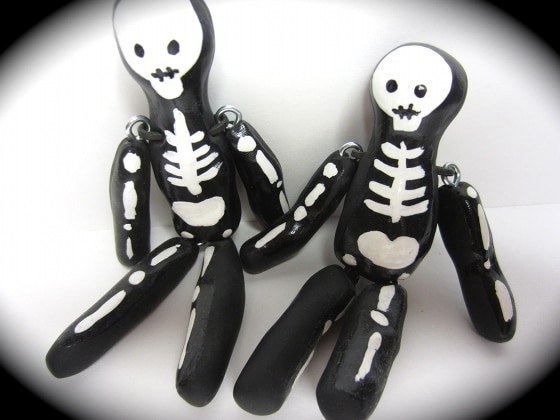
Finished skeletons
