How To
Imprinted Concrete Candle Holders
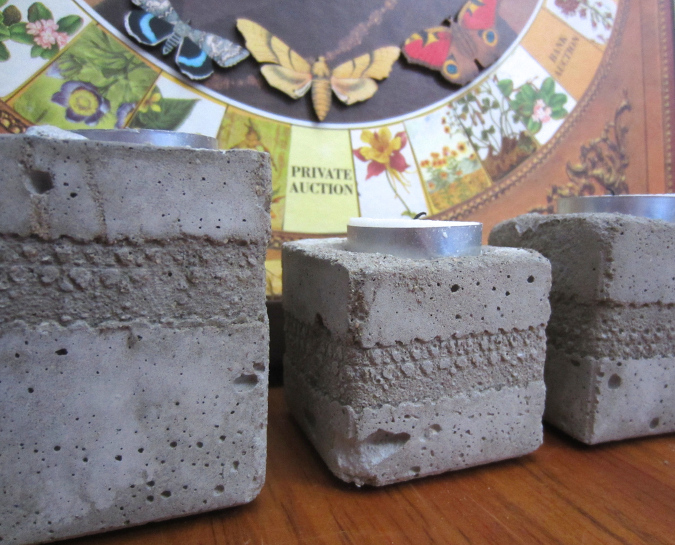
Imprinted concrete candle holders are not a quick and simple craft project like I usually post – in fact, this project is messy and time consuming. However, the preparation and time spent on this project is well worth the outcome. These candle holders are imprinted with lace ribbon to add a border around the holder. Materials to Make Imprinted Concrete […]
By Bonnie Thomas|May 04 2015|![]()
Coffee By Design | Portland, Maine
Photo Credit : Katherine KeenanPhoto Credit : Bonnie Thomas
Materials to Make Imprinted Concrete Candle Holders:
- Fine sand
- Portland cement
- Lace ribbon
- WD-40
- Milk or juice cartons (I used the smaller snack size)
- Plastic wrap or small plastic bags
- Double-stick tape
- Tea light candles
- Newspaper
- A plastic tub for mixing concrete
- A strong utensil for stirring concrete
- Fine sandpaper
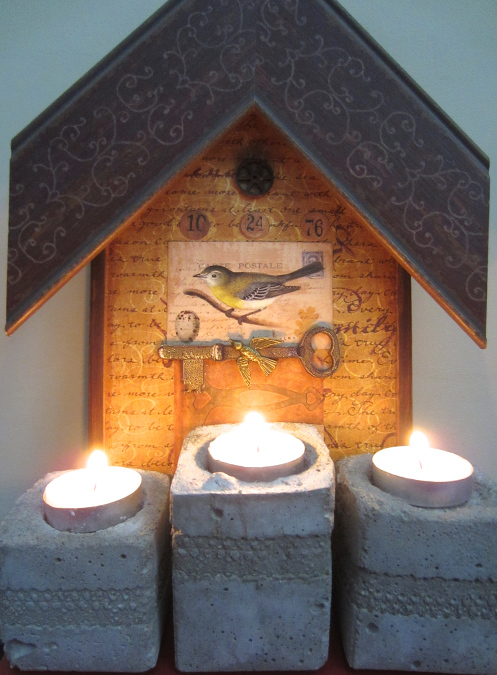
Photo Credit : Bonnie Thomas
Directions to Make Imprinted Concrete Candle Holders:
- Trim the tops off the cartons. Trimming anywhere at or below the carton rim line is fine.
- Wash and dry the cartons.
- Measure out your lace ribbon ahead of time – wrap the ribbon around your cartons to determine how long each piece of ribbon will be. Trim, and then set these ribbon pieces aside.
- Gather the above materials in a space where you have access to water and can make a mess. Cover your work space with sheets of newspaper (even if you are doing this outside).
- Wrap your candles in plastic wrap. The smoother and tighter you can do this, the better. Apply tape if needed to hold any wrap in place.
- Use double-stick tape to secure the lace ribbon to the INSIDE of your cartons. I lined each piece of ribbon with the tape and then placed the ribbon inside the carton.
- Spray the inside of the containers and the plastic wrapped candles with WD-40 – this will keep the concrete from sticking to the ribbon or candles.
- Mix your concrete. Mix 2 parts sand to 1 part cement.
- Add a little bit of water at a time, mixing as you go. Continue mixing water in until it is the consistency of muffin or brownie batter.
- Fill your boxes with the concrete, making sure the concrete is above the ribbon line.
- Place your wrapped candle on top. Press and/or tap it down until it is at least 3/4 in the concrete.
- Leave the candle holders alone for about 24 hours. The concrete will cure during this time.
- Remove the candle holders. Next remove the carton and ribbon. These should come off easily since you sprayed them.
- If any sanding needs to be done, now is the time to do it. I sanded the inside rim of my holders just to make them smoother.
- Allow the holders to finish curing. You will know they are done curing when they start to look lighter in color and feel more solid.
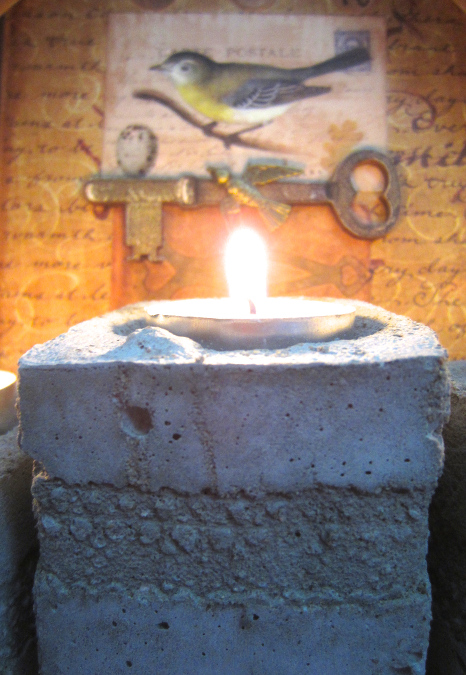
Photo Credit : Bonnie Thomas