How To
Crafts | Make a Hanging Lantern
During the summer months, there’s a period of the day between dusk and nightfall when it’s not dark enough to turn on lamps, but a bit of soft lighting would be nice. Whether camping or enjoying the comfort of your own backyard, the solution to this lighting dilemma is simple: make gypsy-inspired hanging lanterns. They […]
Coffee By Design | Portland, Maine
Photo Credit : Katherine Keenan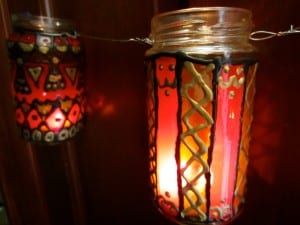
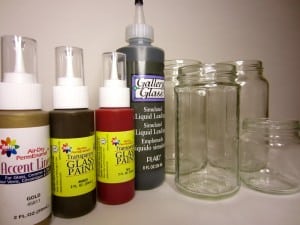
Materials to Make Hanging Lanterns:
- Recycled jars that have been cleaned and dried
- 1-2 Small bottles of Simulated liquid leading found in the glass art section of craft stores — note: smaller bottles are easier to work with
- Various colored glass paints (optional)
- Wire
- Wire cutters (I’ll admit, I’ve used and ruined regular scissors for this, but scissors CAN be used in a pinch)
- Tea light candles
- Newspaper to cover your work space
- Paper and pencil (optional)
Directions to Make Gypsy Inspired Lanterns:
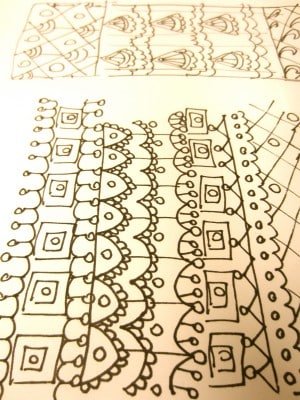
- It helps to practice drawing gypsy inspired patterns before diving into this project. I used lace and quilt patterns as my inspiration.
- Lay newspaper over your workspace. This craft project can get a bit messy.
- Make sure your jars are cleaned and dried.
- Use your liquid leading to create designs on the outside of your jars. The easiest way to organize your patterns is to make sure you create a top perimeter of liquid leading and a bottom one. Then start making boxes, diamonds, or other shapes and designs. You can go back and add to these patterns with dots, lines, and accents.
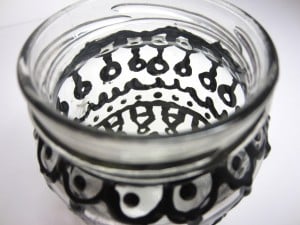
- When you have covered your jar with various patterns, allow the liquid leading to dry.
- If you like your jar as is (only liquid leading, no glass paint), wrap a wire around the lip of the jar and secure tightly. From this wire you can attach a hanging wire (if using a single lantern) or a connecting wire (if making a string of lanterns).
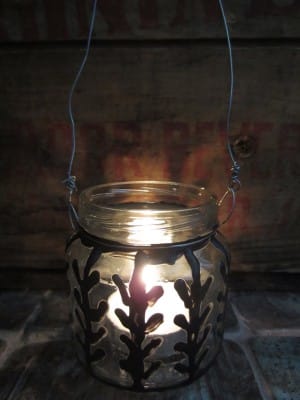
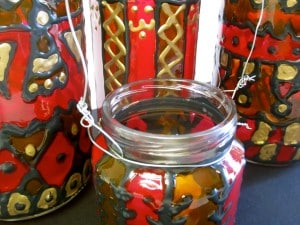
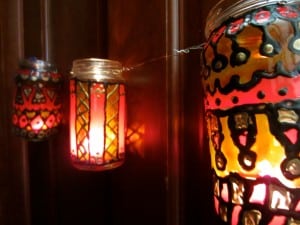
- I have photographed these lanterns at both stages so you can see how they look plain versus painted.

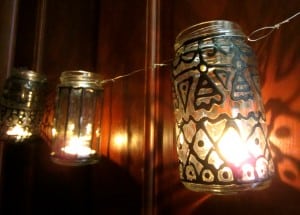
- If you are going to paint your lanterns, proceed to the next steps.
- Painting your lanterns is easy. Simply apply glass paints to the glass. I chose brown, red and gold to paint my lanterns.

- Allow paints to dry.
