How To
DIY Wooden Signs
When my husband and I built our house, over a decade ago, we suddenly had an abundance of wall space but not an abundance of finances (we had just built a house, after all). So it was up to us to get creative about filling the walls without breaking the bank. This is when I […]
By Bonnie Thomas|Feb 23 2015|![]()
Coffee By Design | Portland, Maine
Photo Credit : Katherine Keenan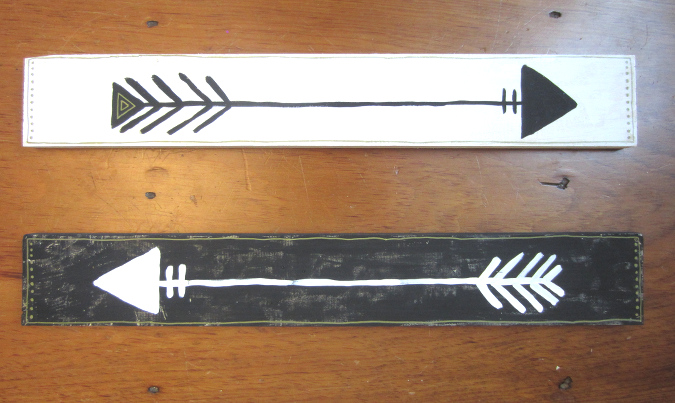
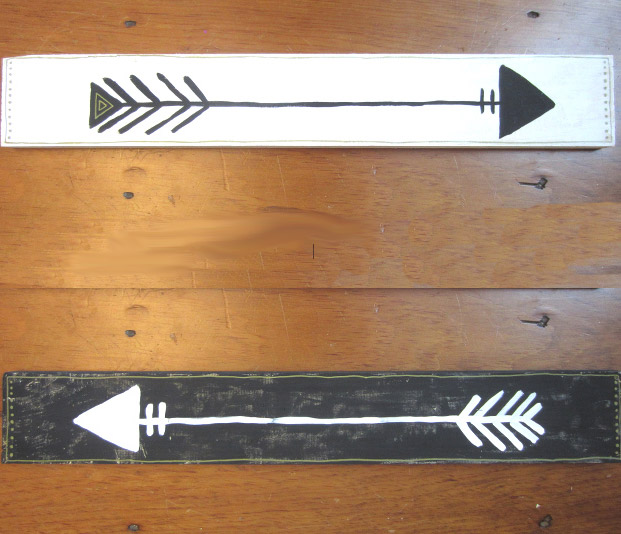
Photo Credit : Bonnie Thomas
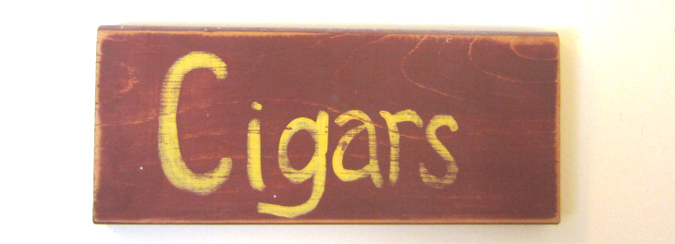
Photo Credit : Bonnie Thomas
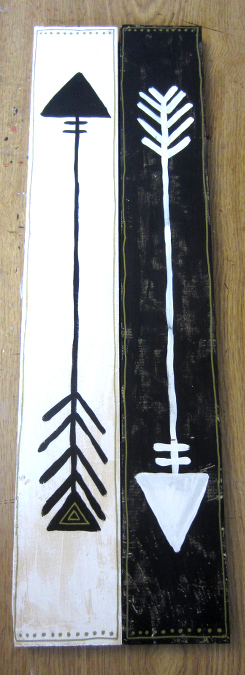
Photo Credit : Bonnie Thomas
Materials needed:
- Scrap and/or purchased lumber. The size and thickness of the signs can vary – the arrow signs I made, for example, are 3/4″ x 4″ x 22″ but you can make signs on many different lengths and width of wood.
- Acrylic paints in colors of your choice
- Paintbrushes
- Sandpaper
- Damp cloth
- Wire
- Thumbtacks
- Letter stencils (this is optional for using words on your signs)
Directions:
- Lightly sand the wood and then wipe it down with a damp cloth. Allow the wood to dry.
- If you want a solid background for your sign, paint 1-2 layers of your background color to your sign.
- If you want a more distressed look for your sign (as I did in the arrow signs) then use a dry brush to paint the wood – use very light strokes and very little paint on the brush to build up to the desired look.
- Allow the base color to dry.
- Paint your word or symbol onto the sign. If you are using a stencil, lay out the letters evenly across the sign and pencil them in lightly before painting. If you are painting a word freehand, it will still help to pencil in some spacing to make sure you keep your word in the center of the sign.
- Once your word or symbol is painted, you can add a border if you choose.
- Allow the sign to dry.
- Flip the sign over. Spacing can vary, depending on how you you want your sign to hang. Measure the same distance in from each end of the sign, i.e. the arrow signs are 22″ long so I measure 6″ from each end of the sign, and mark where your tacks will go.
- Place tacks halfway into the wood.
- Wrap a piece of wire around the 2 tacks a couple times and then twist the wire ends.
- Push the tacks into the wooden sign – they should now hold the wire securely in place so that you can hang your sign.