How To
DIY Magnetic Organizers
I do a lot of artwork and writing with the clients that I work with, and it’s easy to lose track of my supplies if I am not highly organized. I work in a small office, so every inch of space is valuable. One area of my office that is under utilized is my file cabinet […]
By Bonnie Thomas|Nov 03 2014|![]()
Coffee By Design | Portland, Maine
Photo Credit : Katherine Keenan- Metal bandage boxes (novelty bandage boxes are extra fun)
- Vintage metal spice containers
- The lids of bandage and other small metal boxes
- Small tins used for baked goods
- Tea tins
- Mint and candy tins
- Plain undecorated tins bought from the craft store
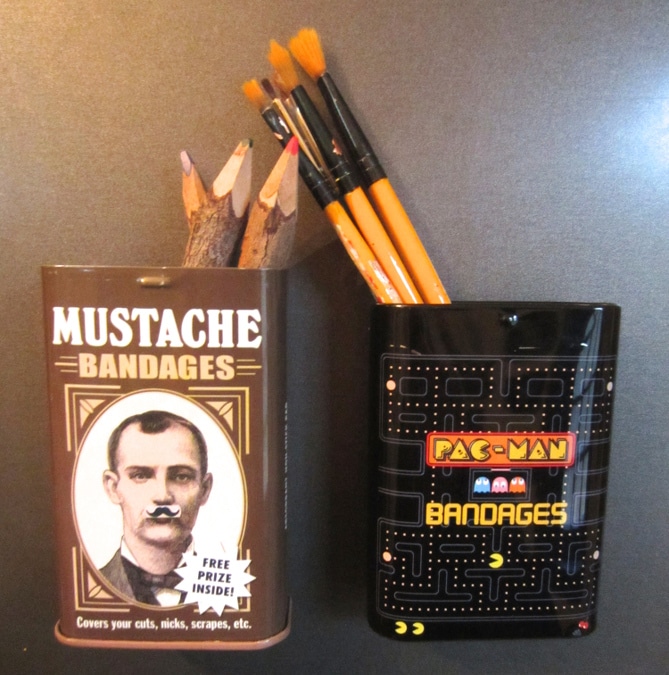
Magnetic Organizers made from repurposed tins
Photo Credit : Bonnie Thomas
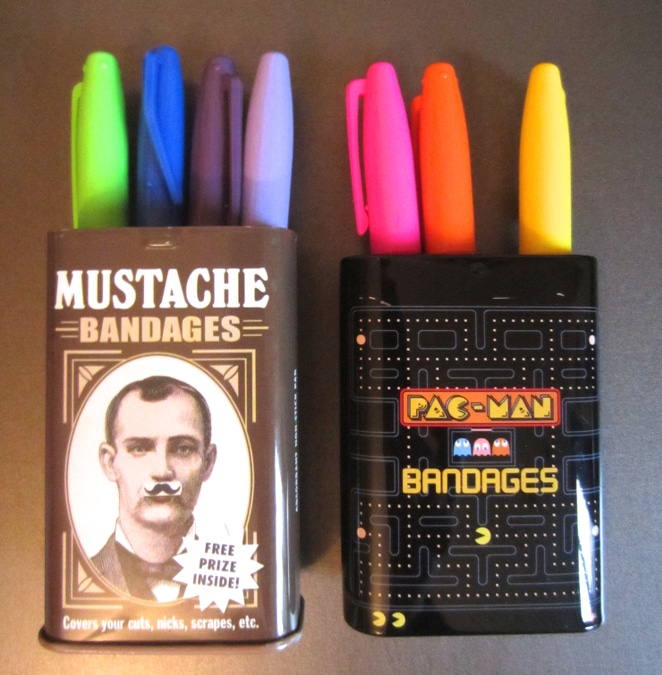
Photo Credit : Bonnie Thomas
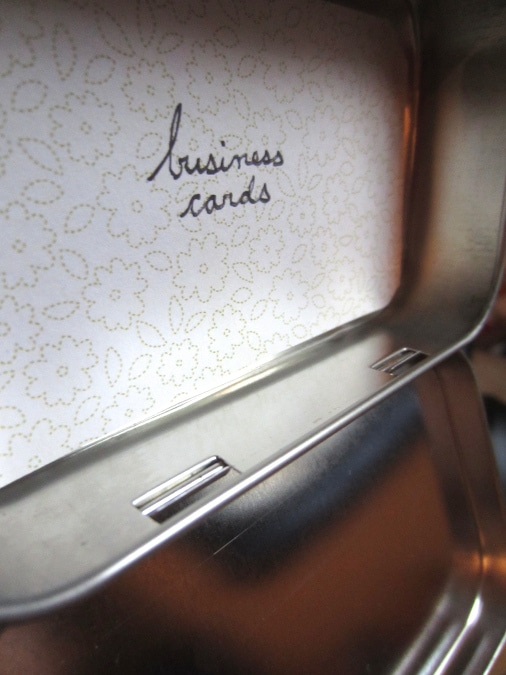
Photo Credit : Bonnie Thomas

Photo Credit : Bonnie Thomas
Materials needed to make your own Magnetic Organizers:
- Small metal containers and tins
- Extra strength magnets (you can buy these in the hardware store or a craft store)– choose smaller sized magnets for small containers and larger sized for larger containers.
- Industrial strength glue such as Superglue or E600 glue
Directions for making Magnetic Organizers:
- Plan ahead for how many magnets you will need for each container. Larger containers (such as a tea tin) will take at least 2 of the larger magnets. You might need to use more magnets if you are going to store something heavy in it, such as scissors.
- If you are using metal bandage tins, remove the lids. The lids are attached via small slats, so it is easy to pull the lids off. Flatten the slats back down after removing the lid.
- Last, apply a dab of your glue to the magnet and adhere the magnet to the container.
- Allow the glue to dry thoroughly before using.
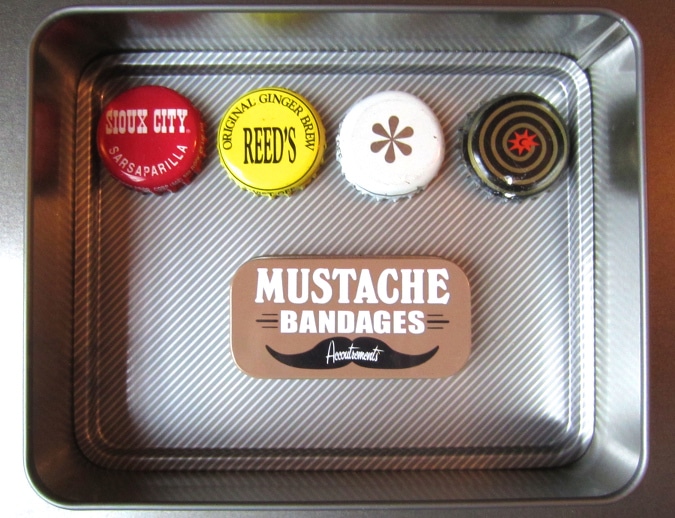
Photo Credit : Bonnie Thomas