How To
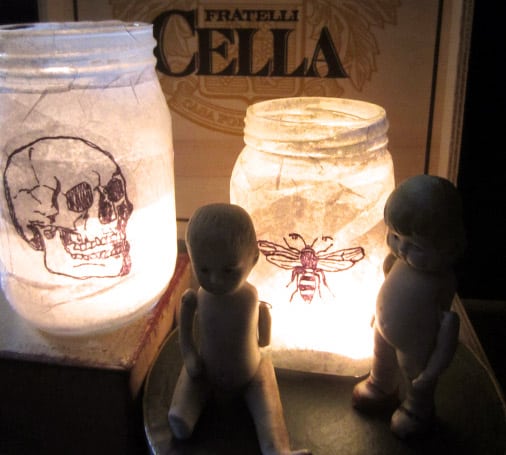
DIY Halloween Lanterns | Easy Craft Idea
Make these spooky DIY Halloween Lanterns to add to your holiday decor. You can choose any image to trace onto your lantern.
By Bonnie Thomas|Sep 22 2016|![]()
Coffee By Design | Portland, Maine
Photo Credit : Katherine Keenan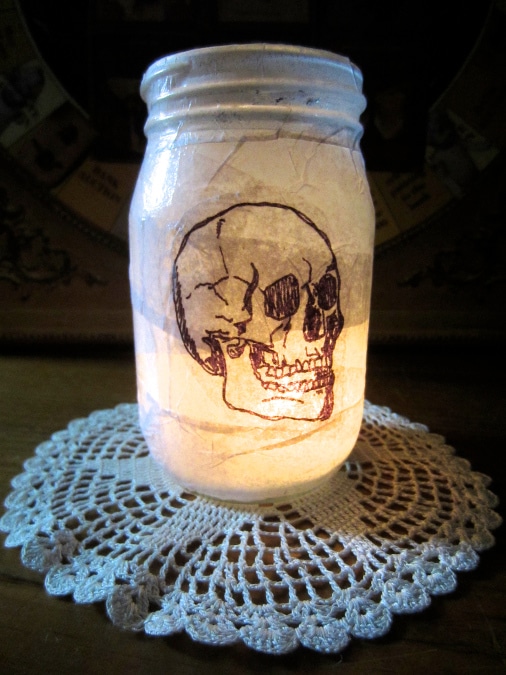
Photo Credit : Bonnie Thomas
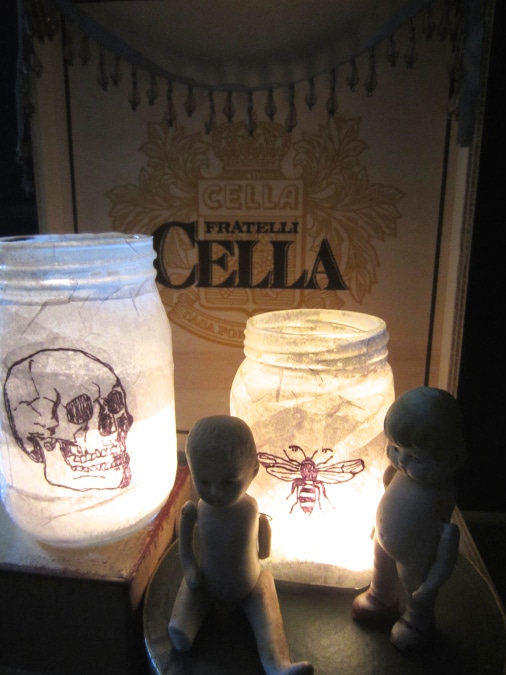
Photo Credit : Bonnie Thomas
Materials Needed to Make Halloween Lanterns
- Recycled jars that have a smooth surface– e.g. I used a jam jar and a salsa jar
- Mod Podge
- A small paintbrush
- Plain white tissue paper
- Scissors
- Black Sharpie marker with a fine point
- One tealight candle per jar
- A spooky image that you can trace. You can find Halloween and/or spooky images online or from Halloween materials you might already have. Images can also be found in Halloween coloring books, anatomy books, an insect book, or a recent newspaper ad.
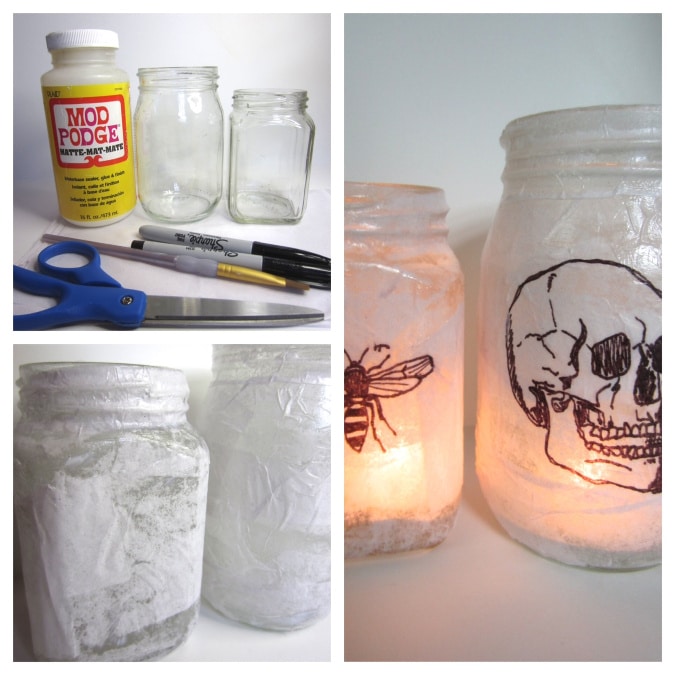
Photo Credit : Bonnie Thomas
Directions to Make Halloween Lanterns
- Clean the jar and dry it thoroughly.
- Set aside some tissue paper for drawing (about 1/2 sheet of paper). Cut the remaining tissue paper into strips.
- Use your paintbrush to apply a thin layer of Mod Podge to the outside of the jar.
- Place one strip of tissue paper onto the Mod Podge, one at a time, until the jar is covered with a thin layer of tissue. There will be many areas that overlap and this is okay.
- Once the jar is covered with a thin layer of tissue, apply another thin layer of Mod Podge to the outside of the jar. This will seal the paper onto the jar.
- Place a piece of tissue paper over the image you chose for your jar. You should be able to see the image through the tissue paper. Trace the image with your Sharpie marker.
- Cut the image out.
- Apply a thin layer of Mod Podge to the jar where you want the image to go.
- Place the image on the jar.
- Gently brush a final thin layer of Mod Podge over the image. I made the mistake of applying too much pressure on one of the images and I lost a bit of the image, so brush lightly.
- Allow the lantern to dry.
- Add a tealight!