How To
DIY Christmas Cones
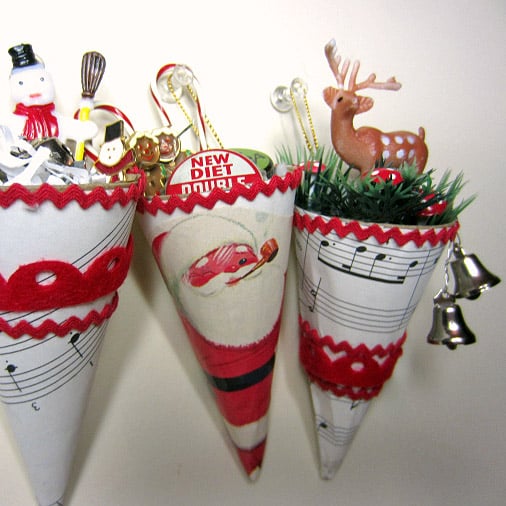
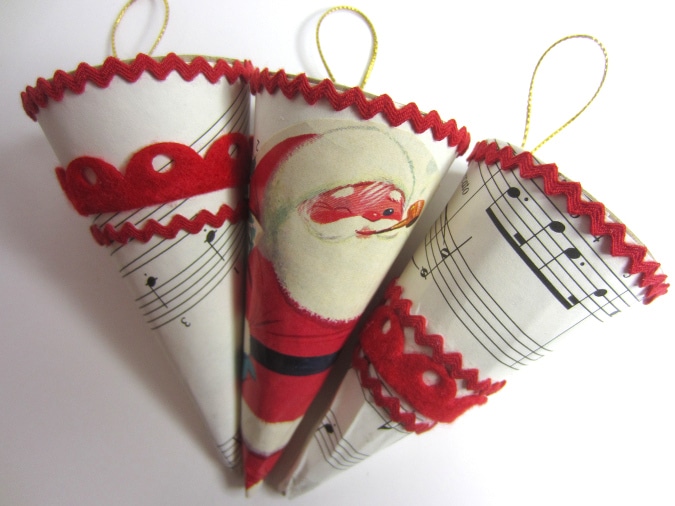
Christmas Cones have many holiday uses– they can be hung on your Christmas tree as ornaments; they can be used as place settings at a dinner party; or they can be hung on doors and elsewhere for decoration. Look over the materials list and see what you can find in your holiday decor and supplies […]
By Bonnie Thomas|Dec 01 2014|![]()
Coffee By Design | Portland, Maine
Photo Credit : Katherine Keenan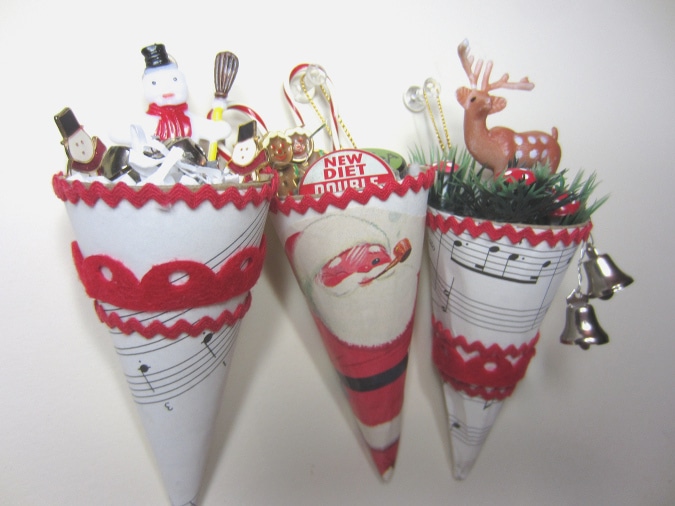
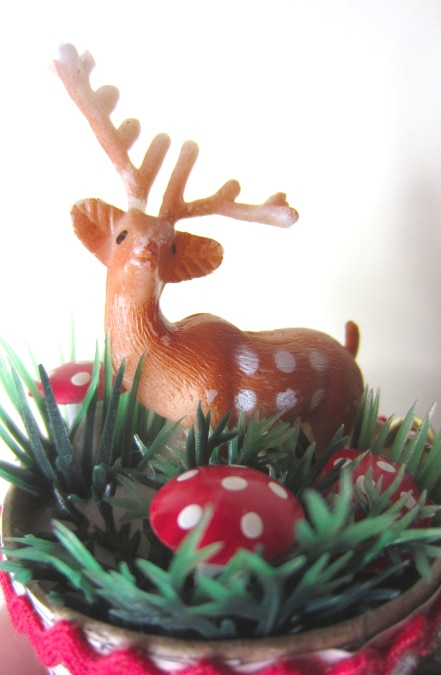
Photo Credit : Bonnie Thomas

Photo Credit : Bonnie Thomas
Materials needed to make Christmas Cones:
- Paper mache Christmas Cones
- Sheet music (or patterned paper of your choice)
- Thin red ric rac ribbon trim
- Other ribbons of your choice (optional)
- Christmas or other holiday images of your choice (optional)
- White glue
- Scissors
- Cotton or polyester fill or paper shreds to fill the cones
- Decorations to fill the cones such as holiday cupcake toppers (such as the snowman with broom in the photo); plastic deer figurines; plastic red mushrooms; plastic pine or holly sprigs; jingle bells; pine cones; elf figurines; small Christmas tree decorations or baubles; vintage style miniature toys.
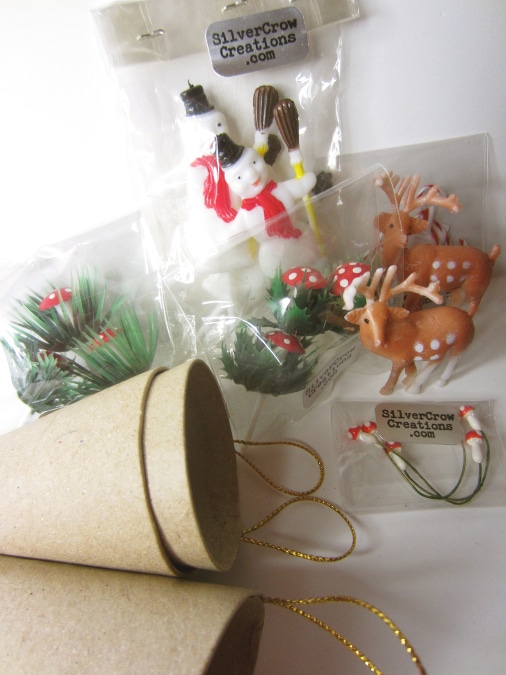
Gathering materials to make Christmas Cones
Photo Credit : Bonnie Thomas
Directions for making Christmas Cones:
- Cut your decorative paper to fit each paper mache cone. The easiest way to do this is to start wrapping the cone in your paper; trim along the side edge of the cone with your scissors; then trim along the top edge of the cone as you roll it, then trim down the side edge when the paper finally wraps around the cone.

Cover the cones with sheet music
Photo Credit : Bonnie Thomas - Glue the paper onto the cone. Trim away any excess if needed.
- Glue any additional pictures to your cones if you like– I added a picture of Santa to one of mine.
- Wrap your ribbon around the top edge of the cone and then cut it where the ends meet.
- Glue the ribbon in place.
- Find another part of the cone to wrap with ribbon and repeat steps 3 and 4. If desired, add more rows of ribbon.
Rows of ribbon are added to the cones
Photo Credit : Bonnie Thomas - Fill your cones with the cotton or polyester fill, or paper shreds.
- Add your decorations.
- If needed, glue decorations in place.
- Allow the cones to dry completely before using.