How To
Crafts | How to Decoupage a Collage onto Blocks
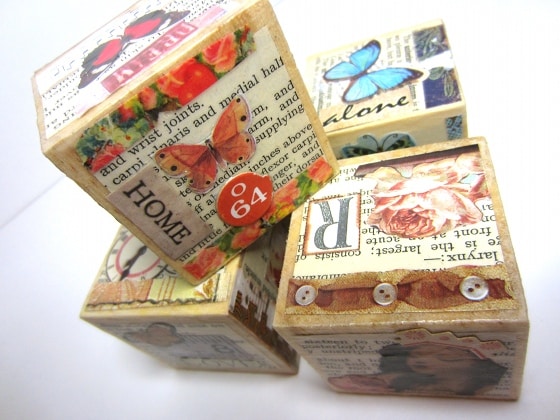
Learn how to decoupage a collage onto wooden, craft blocks with images and words. This cute craft is assembled in a similar method to the way you would create a collage on paper. When completed, collage blocks can be lined up or stacked on a shelf They also make great centerpieces, bookends and paper weights. […]
Coffee By Design | Portland, Maine
Photo Credit : Katherine Keenan
Materials to Decoupage Craft Blocks:
- Plain wood blocks–the size is up to you
- Fine sandpaper
- Paper ephemera– can include anything from images and words cut from magazines, pages from an old book, used postage stamps, recycled cards, wrapping paper, scrapbook papers or patterned papers
- Mod Podge
- Small paintbrush
- Scissors
- Lightly sand the wooden blocks to smooth any splintered or rough areas.
- Cut squares from an old text to fit onto the sides of your blocks. (I used pages from a vintage medical book, but songs books and foreign language books also work well. You can use patterned papers if you do not have book pages. )
- Use a paintbrush to apply a thin layer of Mod Podge to the paper squares and then apply the squares to the sides of your blocks. It is up to you whether you attach paper squares to all 6 sides of the blocks. I only attach them to 5 sides so that the blocks “sit” on the unadorned side.
- Apply a thin layer of Mod Podge over the paper squares once they have been placed on the blocks. Smooth out any bumps as you do this. The Mod Podge helps to seal the image onto the wood.
- From this point forward attach images and words onto the sides of the blocks as desired.
- When you have attached all your images, use your paintbrush to apply a final coat of Mod Podge over your blocks to seal all the images onto the blocks.
- Allow blocks to dry.
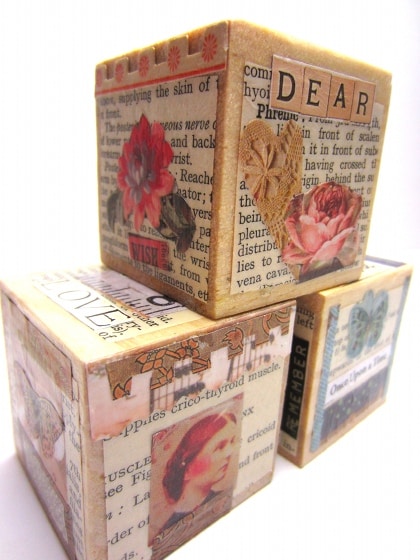
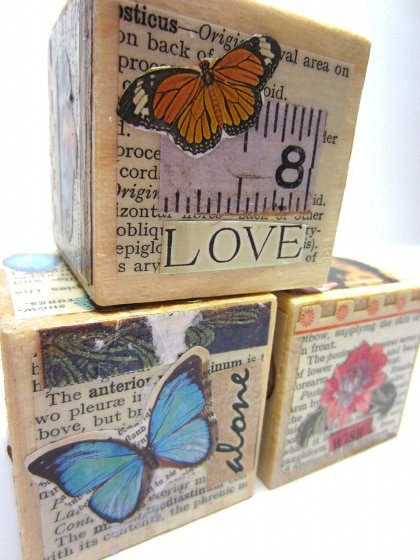


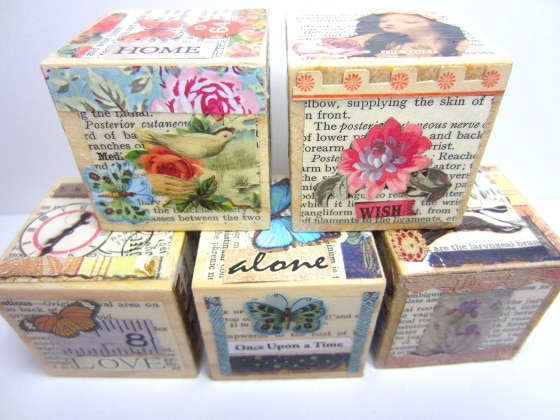



I made these for Christmas gifts using wood scraps my husband had in his wood shop. It was fairly easy. I found that stickers that I purchased worked well with it too. I sprayed a nice coating of polyurethane over them all to give them a nice shine and finish when I was done.
I love your blocks! What a great way to make very personalize gifts.
Great help! I was not sure how to go about this process but the steps and extra comment about polyurethane was exactly what I was looking for, thanks