How To
Crafts | Make a Decorative Tin
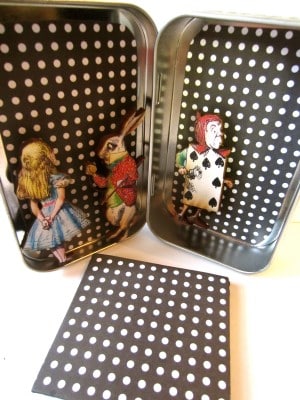
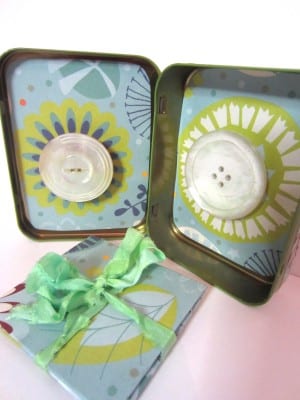
Slipping a small note or gift in a decorative re-purposed mint tin is a creative way to show your appreciation for someone special. The tins are visually appealing, and they’re also functional and reusable containers. They’re also easy to make and customizable to the tastes of the person you are presenting it to. Materials Needed […]
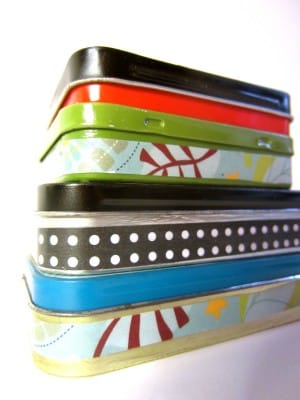
Coffee By Design | Portland, Maine
Photo Credit : Katherine Keenan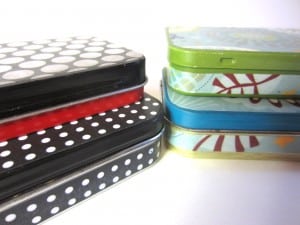
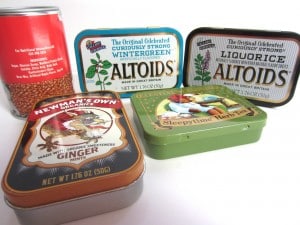
- Mint tin, tea tin or other small tin that has a smooth surface
- Sandpaper
- Mod Podge
- Decorative Paper
- Scissors
- Embellishments or decorations (such as buttons)
- Strong adhesive glue such as E6000 or Super Glue
- Small Magnets (can be purchased at hardware or craft stores)
Directions to Make a Decorative Tin
- Wash and dry the tins thoroughly
- Trace your tins onto patterned decorative paper and then cut out the shapes (you will want to cut them to size, depending on how much you need for coverage or design)
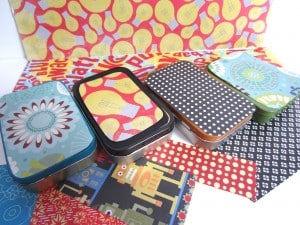
- Lightly sand the areas where you will be applying paper – be careful to only sand where the area will be covered. The sandpaper will scratch the finish of the tin, so only sand where paper will be applied.
- Apply a thin layer of Mod Podge to the paper and then place the paper on the tin where desired.
- Smooth the paper and remove excess glue.
- You can apply paper to the sides of the tin if wanted.
- When the Mod Podge has dried, apply a new layer of it over the papered areas.
- When the outside of the tin is dry, apply paper to the inside of the tin using the same methods as above.

- Apply a small drop of your strong adhesive glue to the object and then place a small magnet on top.
- Press firmly in place and allow to dry.




Fabulous idea, and beautifully made. Thank you for this mini brainstorm! I wonder if it works with larger tins, too? Thanks for this!
Thank you so much Krysia 🙂 I bet this would work well with larger tins but I have not tried it. Sounds like a fun creative experiment for later 🙂