How to Make Hanging Moss Ball Planters
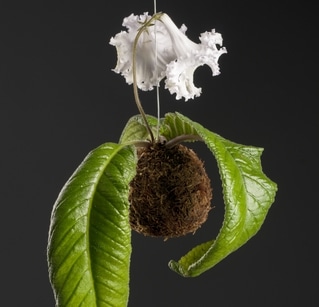
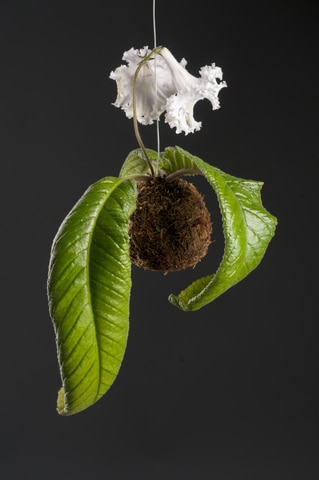
Hanging moss ball planters are derived from a centuries old Japanese art called kokedama, in which a living planter is fashioned out of moss. Typically suspended from string and used as hanging planters, they can also be attached to driftwood or other natural findings. These simple, elegant, statement-piece planters are easy and fun to make and […]

How to Make Hanging Moss Ball Planters
Photo Credit : Dreamstime
Photo Credit : Dreamstime
Materials to Make Hanging Moss Ball Planters
- Small bag of potting soil mixed equally with a small bag of bonsai plant soil. Both are available for purchase at garden centers and home improvement stores.
- Plant cuttings or succulents. Succulents are interesting and come in many shapes and forms and also require very minimal watering. Plants should have similar light requirements. Cactus plants are not suitable for this project.
- Sheet moss or dry sphagnum moss (or both) may be used. Use moss that is commercially available at garden centers or craft stores, as it will have been cleaned and prepared.
- Scissors
- Sturdy string, such as mid-grade twine or hemp string
- Water
- Newspaper or drop cloth
Instructions to Make Hanging Moss Ball Planters
1. Cover your work area with a drop cloth or newspaper. 2. Soak the dried moss in water for up to an hour. Remove moss from water, squeeze out excess water and set aside. 3. Add water to the soil mixture until it is the consistency of wet sand (as would be used for sandcastles). 4. Fashion the soil into ball shapes suitable for the size of the plants you will put in it, typically a few inches larger than the plant’s root ball system. 5. Use your fingers to make holes in the balls, large enough to place the roots of the plants in. 6. Remove the plants from their soil and gently loosen the root balls. Place the roots in the fashioned soil balls and pack back into ball shapes. 7. Press wet moss around each ball form, covering tightly and completely before packing another layer of wet soil around the moss and re-layering with moss a second time. 8. Lastly, wrap each moss ball firmly with two to three layers of twine or hemp, securing the balls in to shape. Finish wrapping at the top and tie off in knot. Before cutting the twine, use the excess string to fashion a loop handle for hanging. 9. Hang in areas that receive the ideal light source of the plants chosen. When watering is needed—usually when the balls feels dry—simply mist or dunk in a bucket of water and re-hang.Shelley Wigglesworth
Shelley (Fleming) Wigglesworth is an award-winning freelance journalist from Maine and a certified Maine Master Gardener who writes gardening articles on a regular basis for NewEngland.com. Her work can be found in the following publications: The Village Magazine, York County Coast Star, Yankee Magazine (online), National Fisherman Magazine, Commercial Fisheries News, Points East Magazine, Coastal Angler Magazine and The Maine Lobstermen's Association's "Landings."
More by Shelley Wigglesworth

