Braising Recipes | In Praise of Cooking Low and Slow
A collection of winter braising recipes, including pork chops and brisket, that let your food’s deep flavors take center stage. In summer the sun and soil do all the work to make our food taste so good: A tomato pulled from the vine in August needs but a sprinkle of salt and pepper and a […]

Coffee By Design | Portland, Maine
Photo Credit : Katherine KeenanA collection of winter braising recipes, including pork chops and brisket, that let your food’s deep flavors take center stage.

Photo Credit : Piazza, Michael
In summer the sun and soil do all the work to make our food taste so good: A tomato pulled from the vine in August needs but a sprinkle of salt and pepper and a drizzle of olive oil to make it special. Then, it’s all about keeping your ego at bay and letting the fish, vegetables, and fruits take center stage while tucking your cooking skills into the background. Come winter, though, we need to get our ovens going. We need to sear and brown ingredients; there’ll be some flipping and layering; a handful of this and that condiment. But it doesn’t have to be difficult; in fact, one of our favorite cooking techniques, braising, is actually pretty easy.
Just about every culture employs braising–a combination cooking method that uses both moist and dry heat. Typically you’ll sear an inexpensive, tough-but-flavorful cut of meat at high temperature and then finish it in a covered pot filled with liquids and aromatics.

Photo Credit : Piazza, Michael

Photo Credit : Piazza, Michael
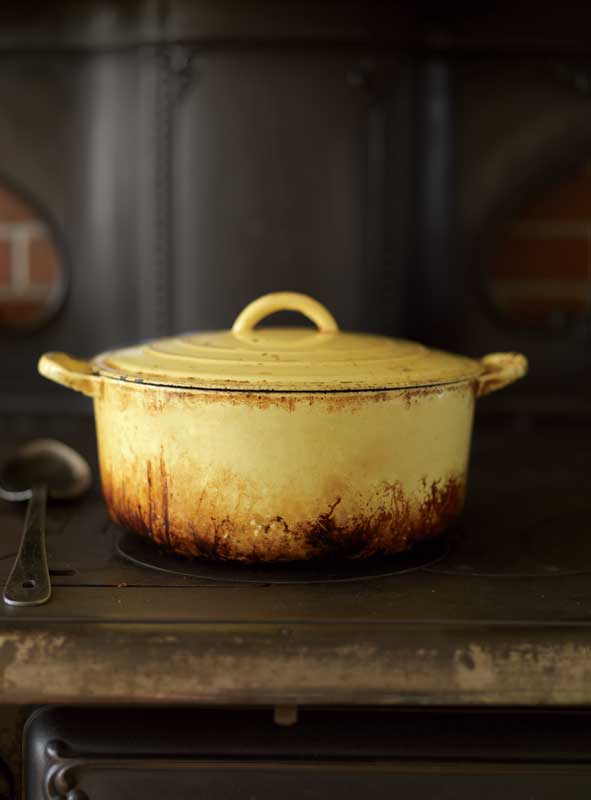
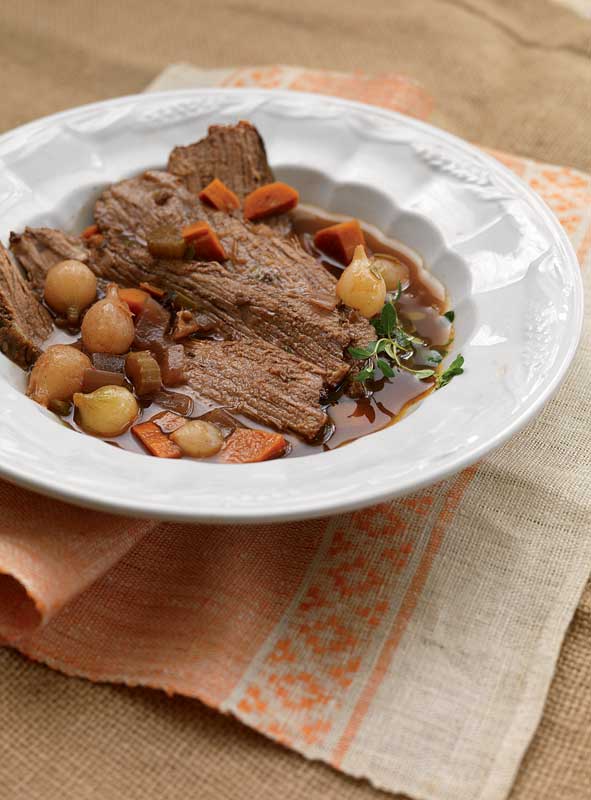
Pot roast, a New England classic, is a perfect example of braising. A pot roast most often starts with a beef shoulder or chuck roast; you brown the meat on all sides and then take it out of the pot. You add vegetables to the pot and cook them until softened; then back in goes the meat, with some liquid. The lid goes on and you cook the roast on the stovetop or in the oven for three to four hours. All chefs and home cooks have their secrets for making a pot roast their own; some folks add coffee or instant soup mix, for instance. Whatever your pleasure, the flavor is largely owing to the process, and that includes the length of time the meat cooks.
Whatever meat you choose, a few general principles apply. First, searing doesn’t “lock in the juices,” but it does develop the meat’s flavor–both on the outside and in the pot. That gorgeous browning is called the Maillard reaction–and that translates as flavor. In addition, some of those browned bits will stick to the pot. They’re called the fond, and that’s where still more taste begins to develop; when you add liquid, you’ll scrape up those browned bits, essential to the sauce. To make sure you get a good, deep-brown sear, pat the meat dry first; excess moisture retards the Maillard reaction. Be sure to season the meat, too; seasonings are the building blocks of your sauce.

Photo Credit : Piazza, Michael

Photo Credit : Michael Piazza

Photo Credit : Michael Piazza
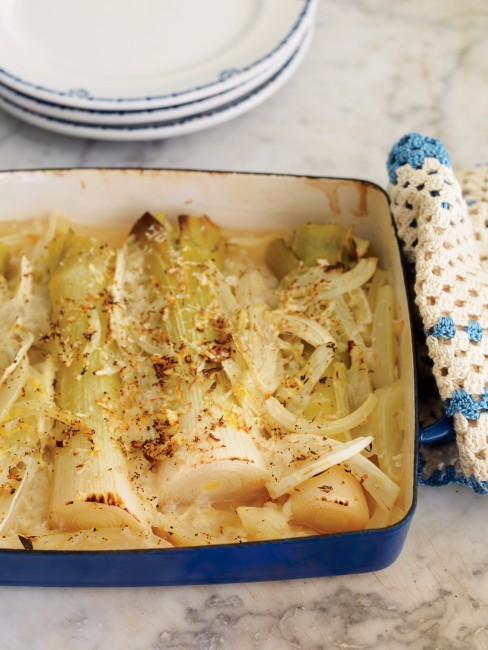
Once you’ve seared the meat, vegetables get a turn in the pot, too, along with aromatic essences; which will give the recipe your signature. Start with yellow or white onions; shallots, leeks, and scallions are good, too. Carrots, onions, and celery, a combination also called mirepoix, are next, and then herbs and spices. You might try a Mediterranean profile with rosemary, or a North African twist with cumin, or an Asian bent with ginger. Now for the braising liquid: Be bold here. Often you’ll use stock or wine, but coconut milk, apple cider, or soy sauce will add new dimensions to an old recipe.
Most of the work of braising is in the first 30 minutes; after that you just need to monitor it as taste and texture are enhanced in the pot. And the best part? Although your meal is delicious the day you make it, it’ll be even better the next day, and the possibilities for leftovers are endless. So enjoy!


After having lost my old copy, I have just reordered “Introducing Chinese Casserole Cookery” which is really just one recipe with over one hundred very tasty variations. Chinese red-cooking is a wonderful form of slow cooking.
I am glad to see some lamb shank recipes as this is one of my family;s meals.
I am looking forward to trying some of the cranberry recipes.