How To
Turn Vintage Doilies into Purses
I have an entire tote filled with family linens and doilies, many of which I do not use. I hate the idea of them sitting in storage, so I brought them out to see if I could repurpose any of them. I discovered a few things: I have more doilies than I thought; my relatives […]
By Bonnie Thomas|Apr 20 2015|![]()
Coffee By Design | Portland, Maine
Photo Credit : Katherine KeenanPhoto Credit : Bonnie Thomas
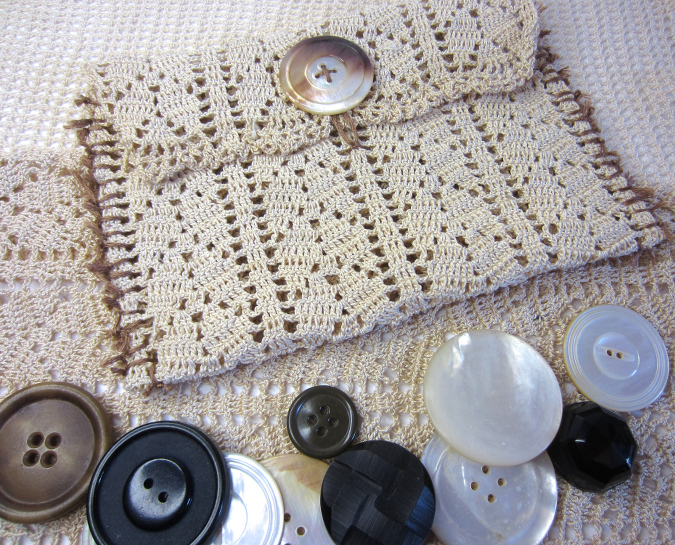
Materials to Turn Vintage Doilies into Purses
- A rectangle shaped doily
- Embroidery thread to match your doily
- A vintage button
- Scissors
Directions to Turn Vintage Doilies into Purses
- To get an idea of how big your purse will be, fold the doily about 2/3 of the way up to the top. The top 1/3 will fold over to become the flap of the purse. The flap is where you will later tie a button on for a clasp. If you need a smaller or bigger purse, choose a different size.
- Iron or flatten the doily if needed.
- Cut your embroidery thread into small pieces, about 4″ in length.
- Fold the doily again so that the bottom of the doily reaches about 2/3 of the way to the top. Line up the holes in the doily edges as needed.
- Once you have the edges lined up, it helps to tie a knot at the top and bottom corners of the folded areas. This will hold the shape in place while you finish tying.
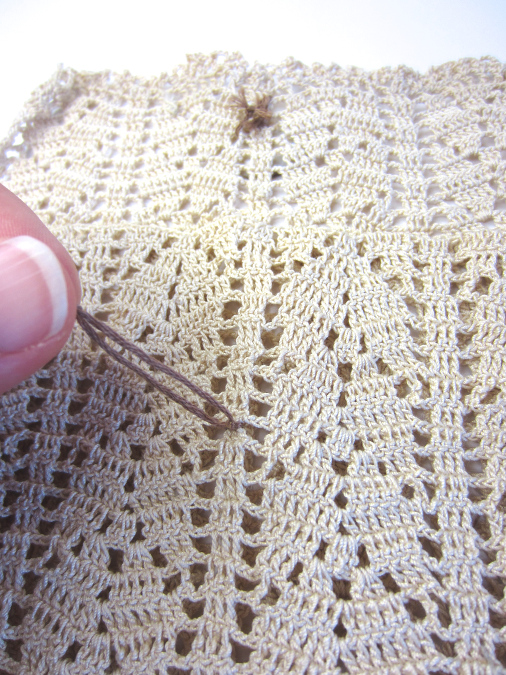
- Tie embroidery thread along the edges, one knot for each hole.
- You will not need to do the bottom of the purse unless you need the added security (if you’ll be adding smaller items to your purse).
- Tie the holes along one edge of the purse and then tie them along the other.
- Trim the excess thread as desired.

The first few steps in making a purse from a vintage doily
Photo Credit : Bonnie Thomas - Fold the purse flap over and place your button in the center or lower center of the flap. Tie the button in place.
- Tie a loop of embroidery thread on the outer layer of the purse where the flap meets. Make sure the loop is big enough to reach around the button but not so loose that it will fall off easily.
Tying a loop for the button clasp
Photo Credit : Bonnie Thomas
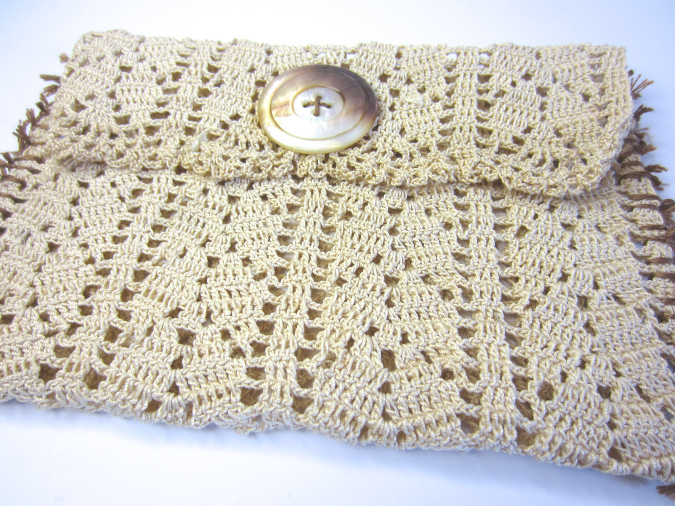
Photo Credit : Bonnie Thomas